If you need to change a visual style of the table, go to Settings of Data Tables Generator by Supsystic and find Appearance Tab.
Customize the Table appearance of the table using the next options:
- Auto Table Width – if checked – width of table columns will be calculated automatically for table width 100%Otherwise – you can set table width manually: columns width will get from Fixed Table Width option (toolbar on Editor tab) or calculated depending on the width of the column in the table editor.If you do not want to apply columns width at all – you should uncheck “Auto Table Width” option, set “Fixed Table Width” option to “auto” and check “Compact Table” option.
- Fixed Table Width – set fixed table width in PX, % or auto (in this case table will be adjusted by table content).
- Fixed Table Width (mobile) – set fixed table width in PX or %. Choose “disable” to make the table width adjust by table content.
- Compact Table – decrease the amount of white-space in the table.
- Align by First Table – if checked – this table will be resized by first Supsystic table on a page. Important! This option makes sense only if the table is not on responsive mode or responsive mode is disabled. Also if the first table has a different count of columns or different settings, their sizes may not be equal.
- Disable Wrapping – disable wrapping of content in the table, so all text in the cells is on a single line.
- Paragraph Mode – allows you to separate the content into paragraphs. To move to a new line in the cell – please press CTRL + Enter.
- Light-box – add Light-box for images.

Also, on the Appearance tab easy to set such features:
- Borders:
- Cell – adds a border around all four sides of each cell;

- Row – adds a border only above and under each row.

- Cell – adds a border around all four sides of each cell;

- Row striping – for example – you use a table, but the table’s rows are difficult to separate visually, especially when there are many columns (or multiple lines to a row) – add row striping to a table, it will display rows background in two similar shades of colour to alternately.
- Highlighting by Mouse-over – enable row highlighting by mouse hover.
- Highlight the order column – the currently sorted column will be highlighted.
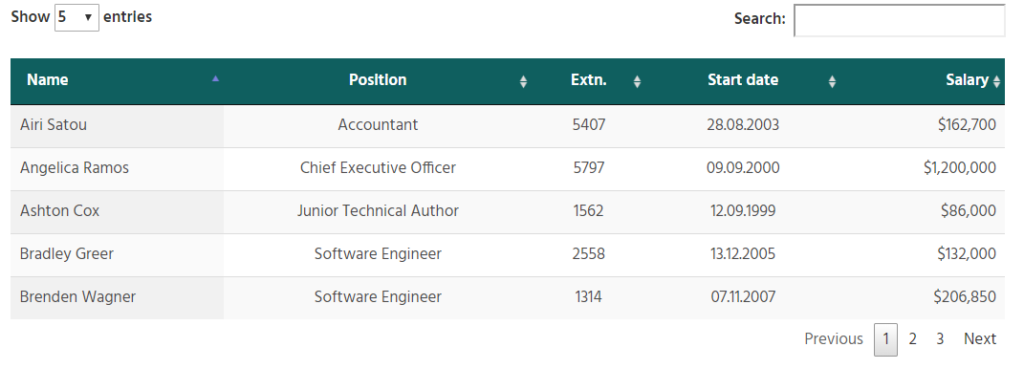
Example of the Row striping, Highlighting by Mouse-over and Highlight the order column:
| Name | Position | Extn. | Start date | Salary |
|---|---|---|---|---|
| Airi Satou | Accountant | 5407 | 28.08.2003 | $162,700 |
| Angelica Ramos | Chief Executive Officer | 5797 | 09.09.2000 | $1,200,000 |
| Ashton Cox | Junior Technical Author | 1562 | 12.09.1999 | $86,000 |
| Bradley Greer | Software Engineer | 2558 | 13.12.2005 | $132,000 |
| Brenden Wagner | Software Engineer | 1314 | 07.11.2007 | $206,850 |
| Brielle Williamson | Integration Specialist | 4804 | 02.12.2010 | $372,000 |
| Bruno Nash | Software Engineer | 6222 | 03.11.2009 | $163,500 |
| Caesar Vance | Pre-Sales Support | 8330 | 12.11.2011 | $106,450 |
| Cara Stevens | Sales Assistant | 3990 | 06.11.2014 | $145,600 |
| Cedric Kelly | Senior Javascript Developer | 6224 | 29.12.2015 | $433,060 |
| Charde Marshall | Regional Director | 6741 | 16.08.2006 | $470,600 |
| Colleen Hurst | Javascript Developer | 2360 | 15.09.2000 | $205,500 |
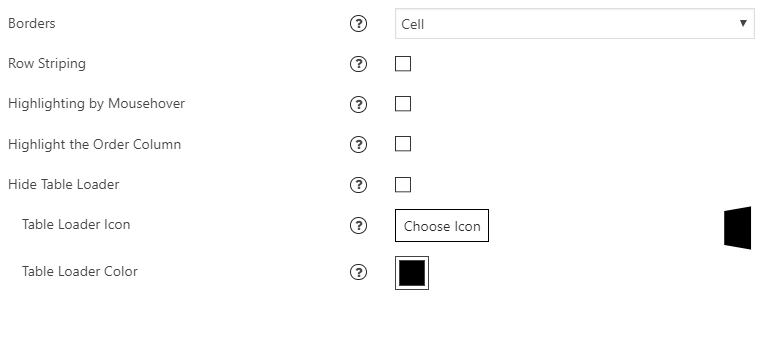
- Hide Table Loader – enable/disable table loader icon before the table will be completely loaded.
- Table Loader Icon – select icon for loader by clicking on Choose Icon button.
- Table Loader Color – select color for loader.
If you need additional option to set the table design and appearance, you need to scroll down to the Table styling.
Enable the Use custom styles checkboxes and you are able to make the following settings:
- Borders external. Set the border colour and width in px:
- Borders header. Set the colour and width for a header. These settings apply to a header, footer and “search by columns” field.
- Borders rows. Set the colour and width for rows.
- Header background. These settings apply to a header, footer and “search by columns” field.
- Header Font. Select the font for a header (the same for a footer), font size and colour:
- Cell background. Set the colour for cells.
- Cell font. Select the font for cells, font size and colour:
- Search Bar Colors. Here you are able to set the colour of background, font and border:
- Fixed Layout – set all columns of the same width.
- Vertical alignment – set the vertical alignment of table cell contents.
- Horizontal alignment – set the horizontal alignment of table cell contents.
- Pagination Position – set horizontal pagination buttons position.
- Show sorting icon on mouse over.