After you have created new map you have lots of map options, which are available to be customized. All these features you can find in the Map Tab:
- Main Settings
- Navigation Options
- Map Type
- Info Window
Main settings
You can find Main Settings section on the Map Tab. It allows you to establish:
- Engine – Map engine to render. It set on Settings page for all maps, but you can select separate engines for your maps here. Just make sure that you entered all required credentials (like API Key) for your engine on Settings page, and after you will select new engine – just re-save and re-load map edit page – to make sure all changes applied.
- Map name – title your map
- Map width – set the map width in pixels or percent
- Map height – set the map height in pixels. If you want to Adapt map to screen height tick the checkbox here.

Navigation Options
- Navigation bar Mode: Control view for map type – you can see it in right upper corner by default.
- Draggable – enable or disable possibility to drag your map using mouse
- Double click to zoom – by default double left click on map will zoom it in. But you can change this here.
- Mouse wheel to zoom – sometimes you need to disable possibility to zoom your map using mouse wheel. This can be required for example – if you need to use your wheel for some other action, for example scroll your site even if mouse is over your map.
- Map Center – sets map center. You can set map center in next ways: type address to use its coords, type the coords’ values in appropriate fields or just drag the map on preview.
- Map Zoom – sets map zoom: sets minimum and maximum zoom level (maximum estrangement), which can be applied for map.
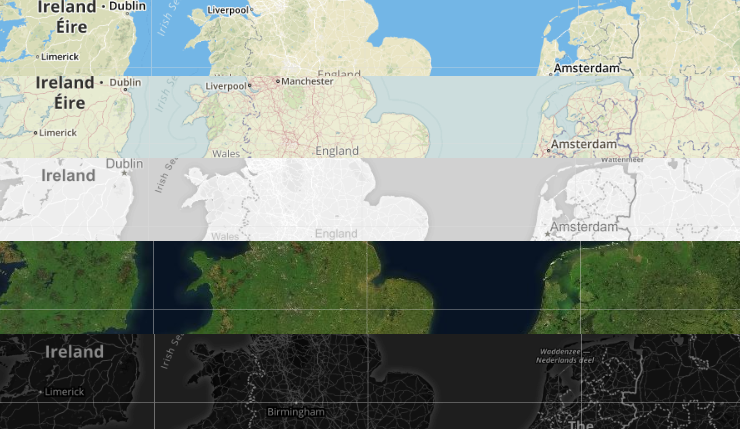
Stylization
- Map Type – make your map unique with our Map Themes. You can also get different themes in each Map engine.

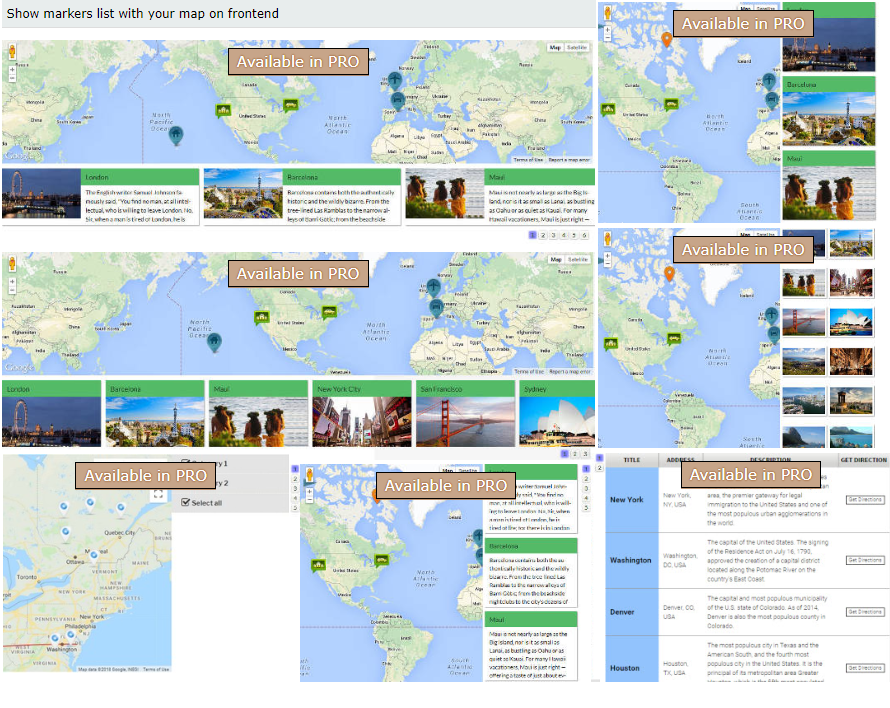
- splay all map markers – as list bellow Your map. This will help your users get more info about your markers and find required marker more faster.
- Add KML layers (PRO) – to display them on the map use next additional settings:
- Enable KML filter
- Upload KML files
- Enter KML file URLs
- Hide POI(Pro) – Hide the Points Of Interest of landmark or another object, the marked points on the map (only for Aerial and Birdseye types), for example: hotels, campsites, fuel stations etc.
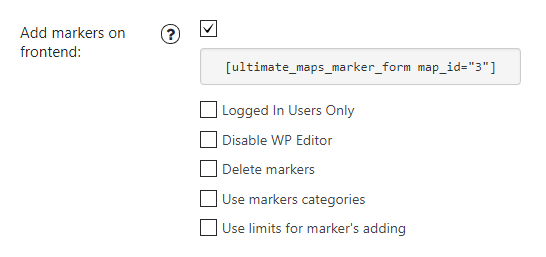
- Add markers on frontend(Pro) – You can add markers at the current map with the frontend using the form, which can be displayed using the shortcode (it placed below preview map). Additional options that affect the operation of the form:
- Logged In Users Only – form will be displayed only for logged in users.
- Disable WP Editor – disable / enable WP Editor for the Marker Description field of the form.
- Delete markers – disable / enable interface for deleting markers on frontend. Each user can delete only his own markers.
- Use markers categories – disable / enable interface for choose the marker category on frontend.
- Use limits for marker’s adding – allows you to limit the number of markers, which user can add from one IP address at the current map for a certain amount of time.
- Max marker’s count – the maximum number of markers, which can be added over certain amount of time.
- For allotted time (minutes) – the number of minutes, during which you can add the maximum number of markers. For example, during three minutes you can add only two markers at the map. If you try to add a third marker – the form will not be saved and you will see the notice with amount of time you must wait. After the right amount of time will pass – you can add next two markers, etc.

- Logged In Users Only – form will be displayed only for logged in users.
Important! If map and form for add markers at this map are placed on one page – this page will be overload after marker adding.
- Markers Clusterization – if you have many markers, you can have a problems with viewing them when zoom out for example: they will just cover each-other. Marker clusterization can solve this problem by grouping your markers in groups when they are too close to each-other.

- Cluster Area Size – set the grid size of cluster. The higher the size – the more area of capture the markers to the cluster.
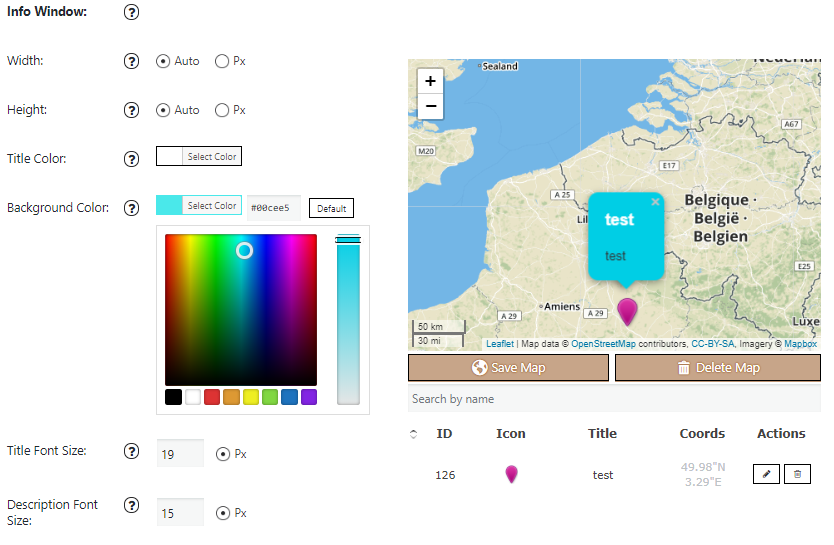
Info Window
- Width & Height – width and height of info-window, value can be set in pixels or auto
- Title color – set your info window title color here
- Background color – set your info window background color here.
- – set your info window title font size here.
- – set your info window description font size here.