Guide to customizing WooCommerce Products
As you know, Supsystic has recently issued a new plugin – WooCommerce Product Table WordPress plugin. That means that our users can add an item’s catalog to the website from WooCommerce, apply price lists or order forms. But there are a lot of details, which weren’t first made clear and can confuse some developers. One of such things is WooCommerce products. So, today we will pay attention to the all pitfalls related to this topic.
For more details, read our blog post.
Quick overview
To simplify all the process, we provide you with some summary of what we will do and what you need to be installed before. Our customizing process is divided into three steps:
- Add a new product
- Select product type
- Add attributions
- Select the product category.
But before we get started make sure that you have installed and activated these plugins:
- WooCommerce plugin
- WooCommerce Product Table WordPress plugin.
![]()
![]() Attention!
Attention!
Be sure you’ve installed WooCommerce and WooCommerce Product Table WordPress plugins
![]() Let’s start!
Let’s start!
Add a new product
You can add new products in two ways:
- Add it manually – 1
- Import products base from a CSV file – 2.
 We will add a new product manually. To do this, click Products -> Add New. In a new window set up the basic details:
- Product name
- Long description.
You can insert media files, like image or audio, pricing table, and so on. Also, if you switch to the Text mode, you can edit HTML and CSS code. 
Products types
If you scroll down, you may see a Product data block. Here you need to select the product type before configuring it. WooCommerce knows about such products types:
- Simple
- Grouped
- External/Affiliate
- Variable.
Let’s look at each more closely. Simple product. It has only one SKU, and no any others variations or options. For example, a book. Also, a simple product may be of two types:
- Virtual: are intangible and not shipped
- Downloadable: give access to a file upon purchase.
Grouped product. It consists of simple products, which can be purchased individually. For example, iPhone could be a grouped product as there are 32GB, 64GB variations of that same product parent. External/Affiliate product. These products can display on your site but they are sold on another place. You have just put a special link. Variable product. These products have a lot of options, different SKU or prices. For example, a T-shirt which is available in different size and colors. We selected a Simple product and move on to the next step.
Customize the product’s attributions
So, after you selected a product’s type, you can now fill the data in the tabs below:
- General
- Inventory
- Shipping
- Linked Products
- Attributes
- Advanced.
General
Here you can set the Regular price and the Sale price. Also, if you click the Schedule button, you can insert the sale prices dates. 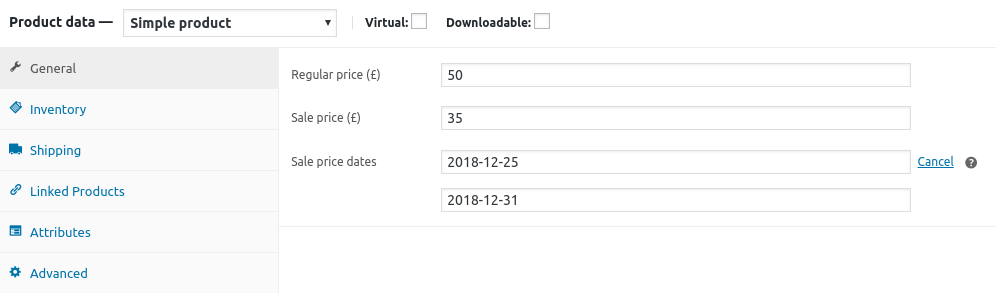
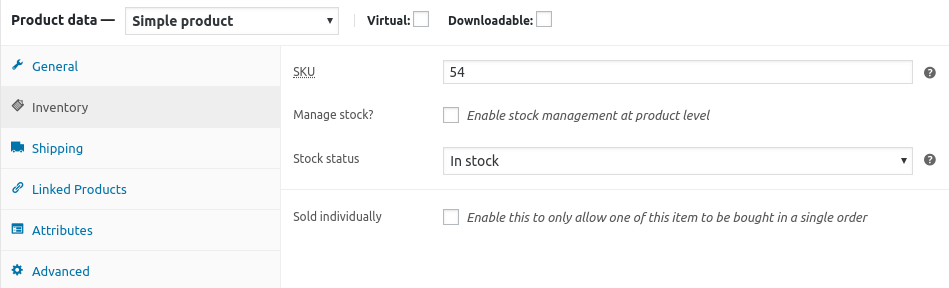
Inventory
In Inventory block, you can adjust such settings:
- Stock Keeping Unit: it is a unique product’s identifier
- Manage stock: select it if you want to enable stock management at the product level
- Enable: write the stock quantity, which will reduce automatically as orders are placed; allow or do not allow backorders
- Disable: choose the stock status
- Sold individually: enable this to only allow one of this item to be bought in a single order.
Shipping
Here you can enter the weight (in kg), dimensions (in cm), and shipping class. All these details are essential for the product’s transportation. 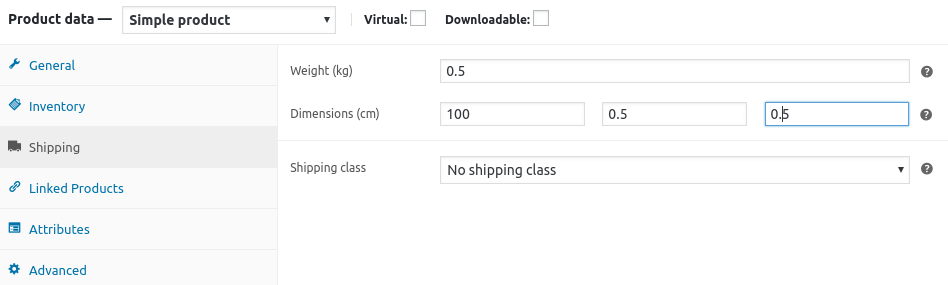
Linked products
In order you want to sell more goods, fill out the Upsells and Cross-sells. Upsells are products that you will recommend users to buy instead of the viewed item. Cross-sells products will be promoted in the cart, based on the current product. 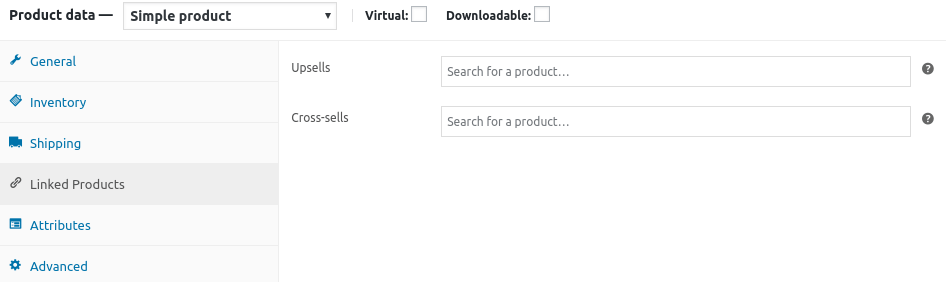
Attributes
All your attributes will be displayed here. If you need to create them, go to Products -> Attributes. 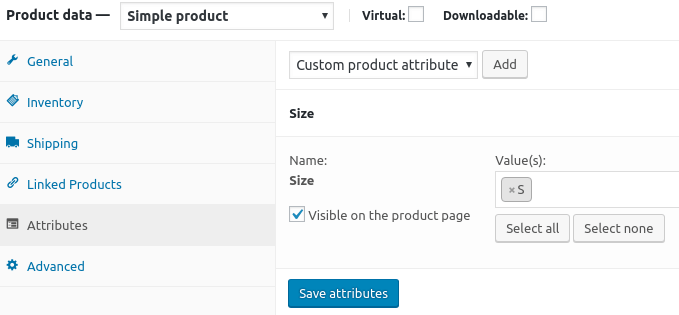
Advanced
In this tab, you can insert the Purchase note, Menu order, and Enable or Diable reviews. 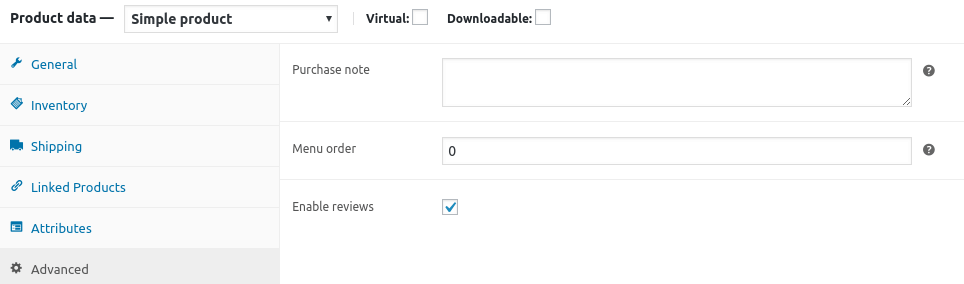
Product short description
There is the last block in a customizing our product. Write here a short description. 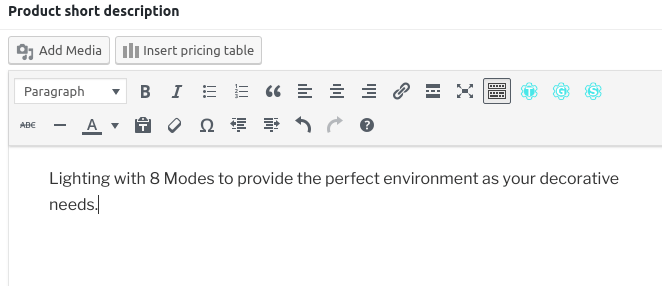
Product categories
Now let’s move on the right menu. Here you should choose a product category, insert product tags, and images. 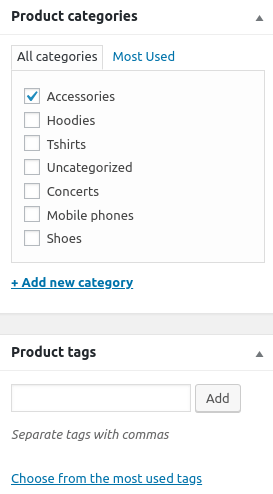 So, there you have it! You have just successfully added your products in WooCommerce. Now you can use them to create a WooCommerce product table. Unleash the potential of WordPress plugins as a versatile substitute for WordPress Site.