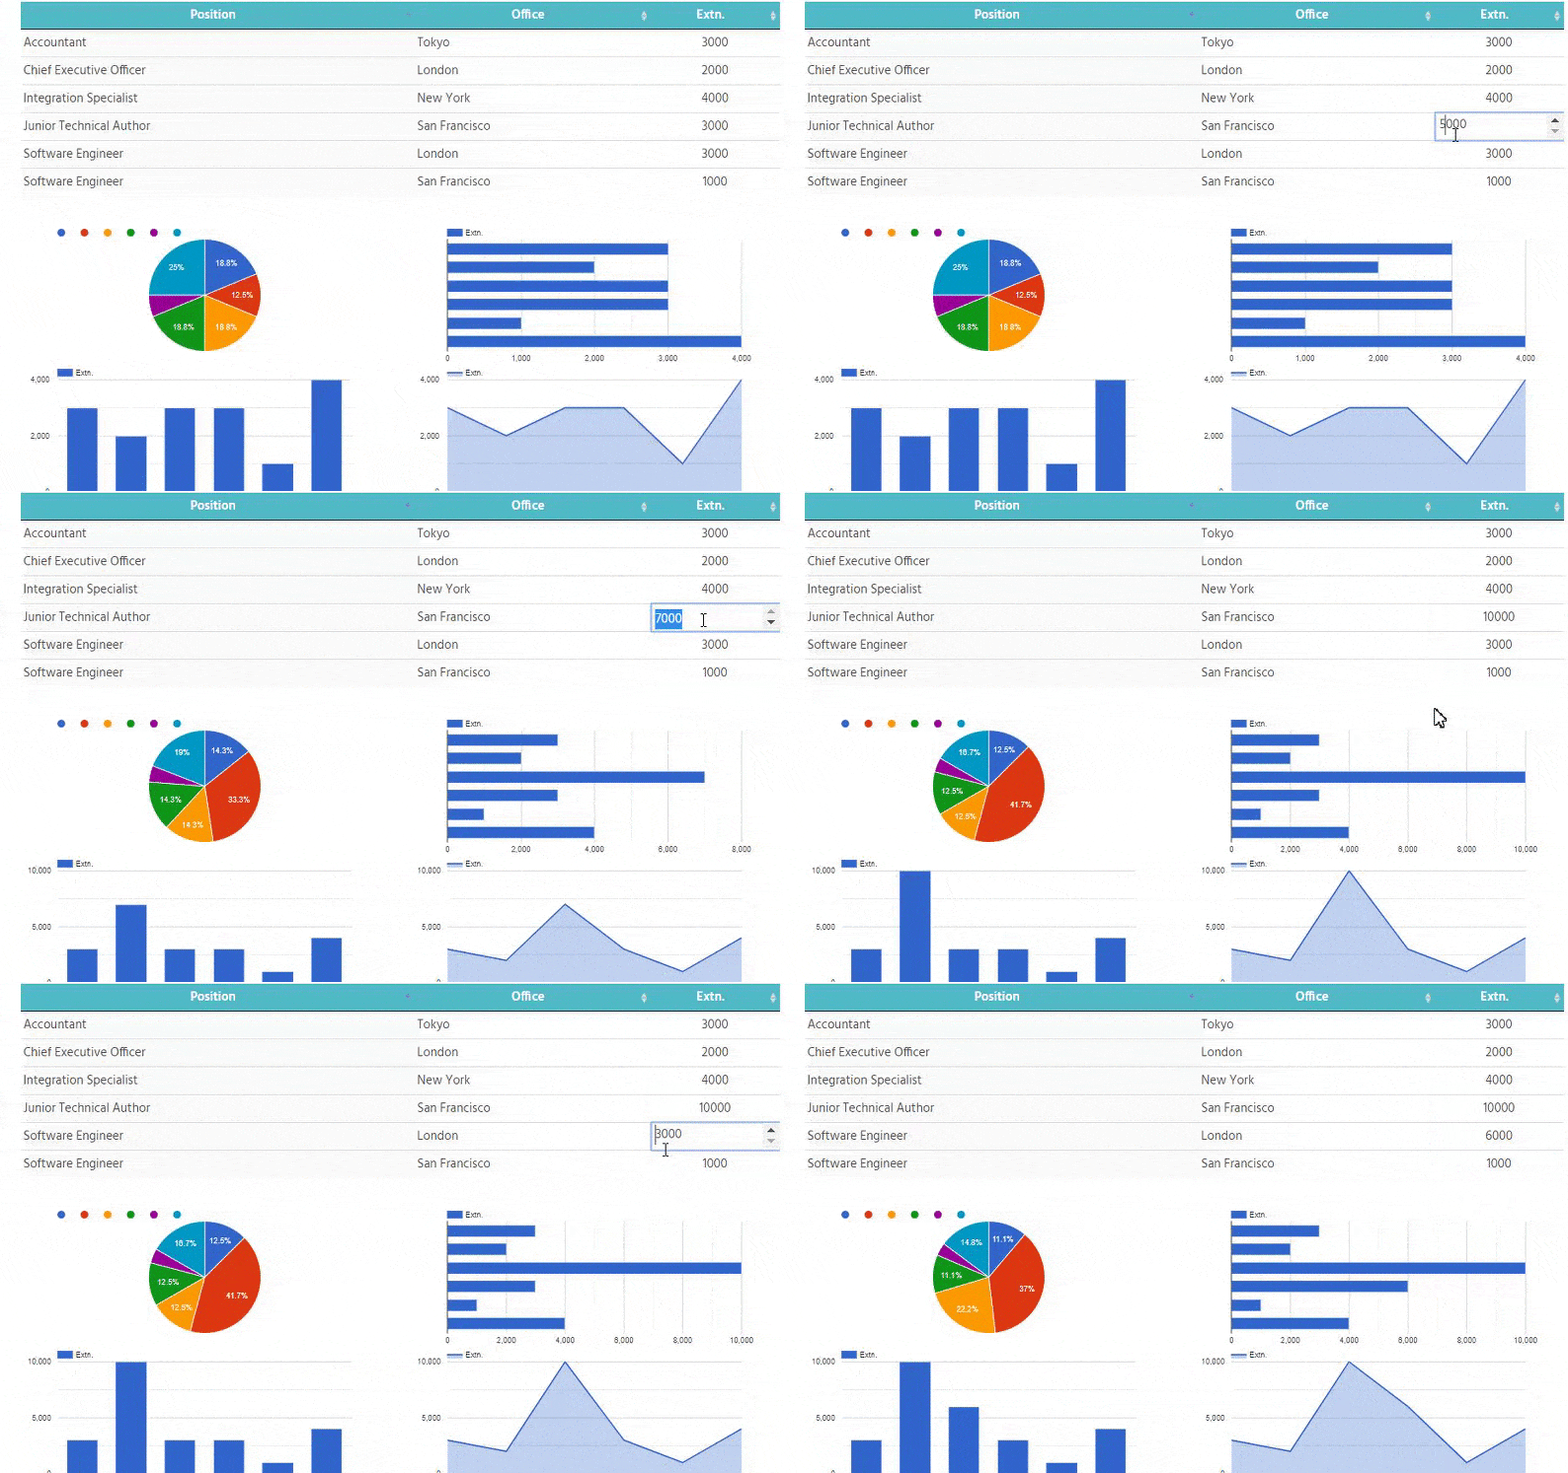
Introduction: How to Create a Table in WordPress
In the vast landscape of WordPress, creating a table can seem like a daunting task, especially if you’re new to the platform. Fortunately, with the right tools and guidance, adding tables to your WordPress posts or pages becomes a breeze. In this article, we’ll explore the ins and outs of creating tables in WordPress, focusing particularly on the WordPress Table Plugin by Supsystic.
Understanding the Basics: How to Create a Table in WordPress
Before we delve into the specifics of using plugins, let’s cover the fundamental steps of creating a table in WordPress manually. If you’re familiar with HTML coding, you can add a table by writing HTML code directly into your post or page. However, for those seeking a more user-friendly approach, plugins offer a convenient solution.
Leveraging the Power of Plugins: Introducing the WordPress Table Plugin by Supsystic
While WordPress offers basic functionality for creating tables, plugins extend this capability, providing additional features and customization options. One such plugin that stands out is the WordPress Table Plugin by Supsystic. With its intuitive interface and robust set of features, it empowers users to create stunning tables with ease.
Streamlining the Process: How to Create a Table in WordPress using Supsystic Plugin
To get started with the Supsystic plugin, simply install and activate it on your WordPress site. Once activated, you’ll find a dedicated menu option in your WordPress dashboard, allowing you to access the plugin’s features seamlessly. From there, you can create a new table and customize it to your liking, adjusting parameters such as column width, row height, and cell formatting.

Enhancing Your Tables: Advanced Features and Functionality
What sets the Supsystic plugin apart is its array of advanced features that elevate the table creation process. Whether you need to add sorting capabilities, implement responsive designs, or integrate dynamic data, this plugin has you covered. With just a few clicks, you can transform your tables from static elements to dynamic, interactive components.
Why Choose the WordPress Table Plugin by Supsystic?
In a sea of WordPress table plugins, what makes Supsystic stand out as the premier choice? Here are a few compelling reasons to consider:
- Intuitive Interface: With its user-friendly interface, Supsystic makes table creation accessible to users of all skill levels.
- Feature-Rich Functionality: From basic table formatting to advanced customization options, Supsystic offers a comprehensive suite of features.
- Responsive Design: Ensure your tables look great on any device with Supsystic’s built-in responsive design capabilities.
- Regular Updates and Support: With ongoing updates and dedicated support, Supsystic ensures a seamless user experience and addresses any issues promptly.

How to Create a Table in WordPress: Steps in Installing and Creating a Basic Data Table
The steps involved in installing and creating a basic table using the Data Tables Generator plugin for WordPress are as follows:
Step 1: Installing Data Tables- In WordPress, navigate to Plugins > Add New.
Search for “Data Tables Generator by Supsystic” and click install.
After installation, click “Activate Plugin”.
Step 2: Creating a Responsive Table- On the left navigation menu, click “Add new table”.
Enter the title of the table, set the number of Rows and Columns.
Click “Ok”.
These steps will help you install the plugin and create a basic table to start working with the Data Tables Generator plugin.
How to Create a Table in WordPress: Options Under the “Settings” Tab
Under the “Settings” tab of the Data Tables Generator plugin, the following options can be configured:
-
-
- Table Elements: Configure the display of table elements such as Caption, Description, Header, Signature, Footer, Fixed Header, Fixed Footer, Fixed Table Height, Fixed Columns, Auto index, and Disable Table Cache.
- Data Formats: Set custom styles for table elements including Borders, Background, Font, Search Bar Colors, Layout, and Alignment.
- Source: Configure options related to displaying table data from the database, including Responsive Mode, Table Information, Sorting, Pagination, Searching, and Disallow Indexing.
-
Additionally, the PRO version of the plugin offers additional features such as Frontend Fields for saving editable fields, Export/Import options, and Diagrams for visualizing data.
These settings allow users to customize the appearance and behavior of tables created using the plugin.

What additional features are available in the PRO version for connecting to a database source?
In the PRO version for connecting to a database source, the following additional features are available:
-
-
- Frontend Fields:
- Save Editable Fields: Allows saving data to the table through editable fields.
- Use Editable Fields for Logged In Users Only: Allows using editable fields only for logged in users.
- Export / Import:
- Provides options for exporting and importing table data.
- Frontend Fields:
-
These features enhance the functionality of the plugin by enabling users to save and edit data through frontend fields and manage data through export/import capabilities.

How to Create a Table in WordPress: Conclusion
In conclusion, creating a table in WordPress doesn’t have to be a complicated endeavor. By leveraging the power of plugins like the WordPress Table Plugin by Supsystic, you can effortlessly add tables to your WordPress site with ease. Whether you’re a novice user or a seasoned developer, Supsystic empowers you to create visually stunning tables that enhance your content and engage your audience. So why wait? Try the Supsystic plugin today and take your WordPress tables to the next level!
How to Create a Table in WordPress: FAQ
How can I create a table in WordPress without using plugins?
You can create tables in WordPress by using the built-in table block feature of the WordPress block editor (Gutenberg editor). This allows you to add tables to your posts or pages without the need for any additional plugins.
How can I manually create a table of contents in WordPress?
To manually create a table of contents in WordPress, you can use various methods depending on your preference. One way is to add a table block in the Gutenberg editor and manually input the information for each section. Alternatively, you can use a plugin specifically designed for creating and organizing tables in WordPress.
How do I add a table row in WordPress?
To add a table row in WordPress, you can use the table block feature in the block editor. Simply click on the table block where you want to add a new row and then click on the plus icon to add a new block below your current row. You can then select the table block again to continue editing or adding content to the new row.
How do I create a table in WordPress using the Supsystic Table Plugin?
To create a table in WordPress using the Supsystic Table Plugin, first, install and activate the plugin. Then, navigate to the plugin settings in your WordPress dashboard and click on “Add Table.” Customize your table by adding columns, rows, and content, and then insert the table into your post or page using the WordPress block editor.
What is the best way to add tables in WordPress?
The best way to add tables in WordPress is by using a plugin like Supsystic Table Plugin. This plugin allows you to create responsive tables with ease and customize them to match the design of your website.
How can I add tables in WordPress posts without coding?
You can easily add tables in WordPress posts without coding by using plugins like Supsystic Table Plugin. Simply install the plugin, create your table using the intuitive interface, and insert it into your post using the block editor.
Can I create pricing tables in WordPress using the Supsystic Table Plugin?
Yes, you can create pricing tables in WordPress using the Supsystic Table Plugin. The plugin offers various customization options that allow you to design eye-catching pricing tables for your website.
How do I add a new table block in the WordPress block editor?
To add a new table block in the WordPress block editor, click on the “+” icon to add a new block, search for “table,” and select the table block from the options. You can then customize the table settings and add your content.
What are the best WordPress table plugins for adding tables to your site?
Some of the best WordPress table plugins for adding tables to your site include Supsystic Table Plugin, Ninja Tables, and TablePress. These plugins offer user-friendly interfaces and a range of customization options for creating tables.
How can I create responsive tables in WordPress using a plugin?
You can create responsive tables in WordPress using plugins like Supsystic Table Plugin. These plugins automatically adjust the table layout based on the device screen size, ensuring that your tables look great on all devices.
