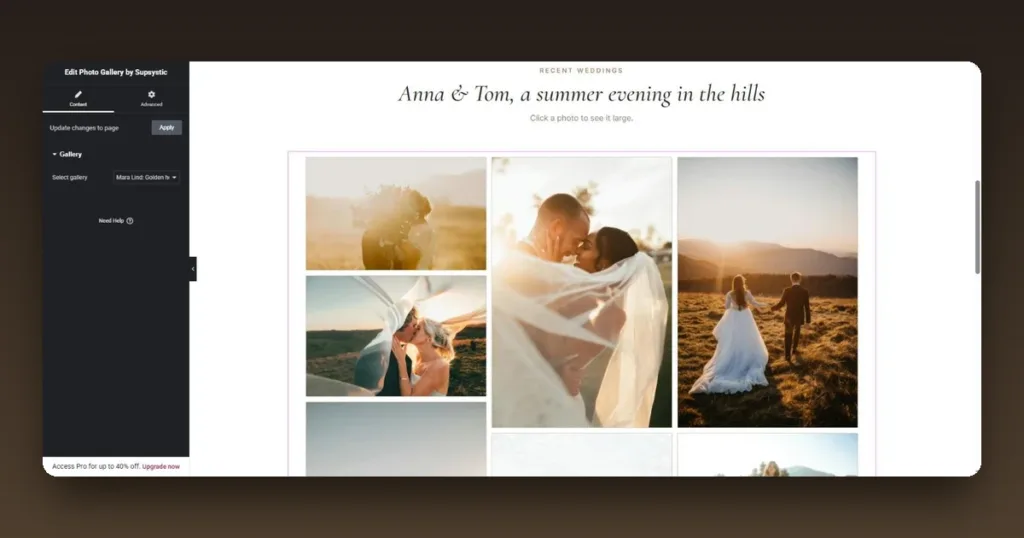
Photos sell a wedding photographer, a restaurant, a hotel or a builder. On an Elementor site they deserve more than a grid of square thumbnails: a masonry layout that keeps every photo in its own proportions, a calm style that matches the page, captions, and a lightbox that shows each shot large. You can have all of that without Elementor Pro.
This guide adds a responsive photo gallery to an Elementor page with the free Photo Gallery by Supsystic plugin and its own Elementor widget, which shows the real gallery right in the editor. Our example is the site of a fictional wedding photographer, Mara Lind.

What you need
- WordPress with Elementor. The free version of Elementor is enough.
- Photo Gallery by Supsystic, free on WordPress.org and used on 27,000+ sites. Install it from Plugins → Add New Plugin (search for “Photo Gallery by Supsystic”) or download it here.
- Your photos, ideally exported at 1600 to 2400 pixels on the long side. Portrait and landscape shots can be mixed.
The free Elementor panel has a Basic Gallery widget for a simple grid of thumbnails; its Gallery widget with masonry and justified layouts is part of Elementor Pro. Photo Gallery by Supsystic adds both layouts, styles and a lightbox to free Elementor.
Step 1. Create the gallery
Open Photo Gallery by Supsystic → Add new. The wizard asks what you are making and shows every layout as a picture. In the Gallery group, pick Masonry: columns of photos of any height, like a mood board. Then:
- Images: click Choose images and pick the photos in the Media Library. Their order in the wizard is their order in the gallery.
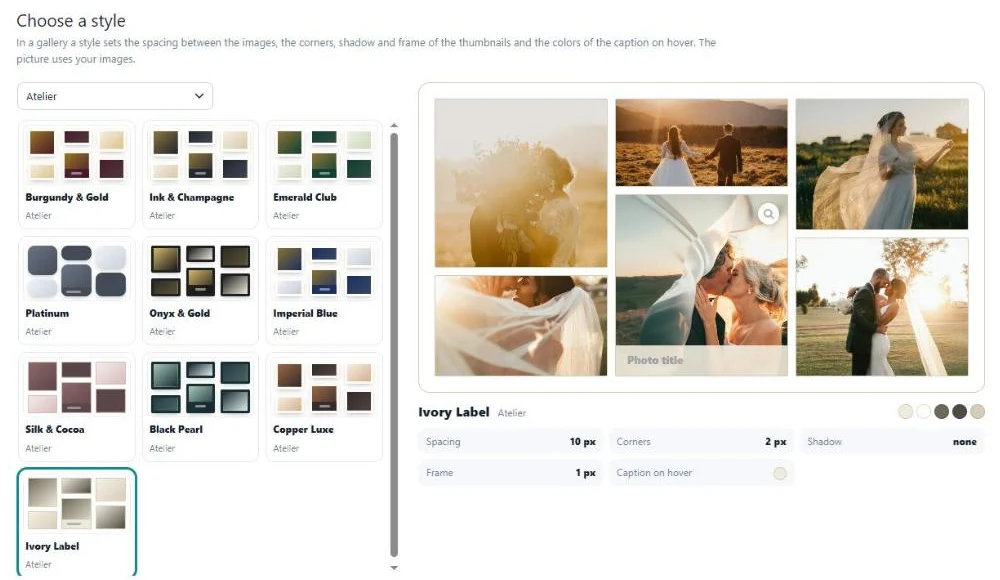
- Style: a style sets the spacing, the corners, the frame and shadow of the photos, and the colors of the caption. The preview uses your own images.
- Additional: switch on what visitors get, such as the lightbox and captions.
- Finish: name the gallery and click Create gallery.
For a wedding portfolio we picked Ivory Label from the Atelier collection (Pro): a thin frame, sharp corners and a cream caption bar. Five styles are free, and Pro adds 100+ more in ten collections.
Step 2. Choose the layout and the details
After the wizard the gallery opens in its editor. The Gallery Type row at the top switches the layout in one click:
- Fixed: tiles of one size in neat rows.
- Vertical (masonry): columns, every photo at its own height. We use this one.
- Horizontal and Justified rows: rows of one height that keep each photo’s width.
- Fixed columns: a set number of columns across the width.
- Mosaic (Pro): big and small tiles in one magazine-style grid.

Under the layout you set the distance between images and the gallery width. For three wide columns on a 1200-pixel page we set the image width to 370 pixels and the distance to 10. The tabs below hold the Lightbox, Captions & Icons, Style and more. Click Save.
Step 3. Add the Photo Gallery widget in Elementor
Open the page with Edit with Elementor and type gallery into the search box of the Elements panel. Next to Elementor’s own widgets you will see two from the plugin:
- Photo Gallery by Supsystic: one gallery.
- Gallery Group by Supsystic: a group of galleries shown one after another, for example all weddings of one season.

Drag Photo Gallery by Supsystic into the container where the gallery should go.
Step 4. Pick the gallery and see it live
With the widget selected, open Content → Gallery and choose your gallery in Select gallery. The real gallery appears on the canvas straight away, with its layout, style and frames, so you can design the section around it: headings, spacing and background.
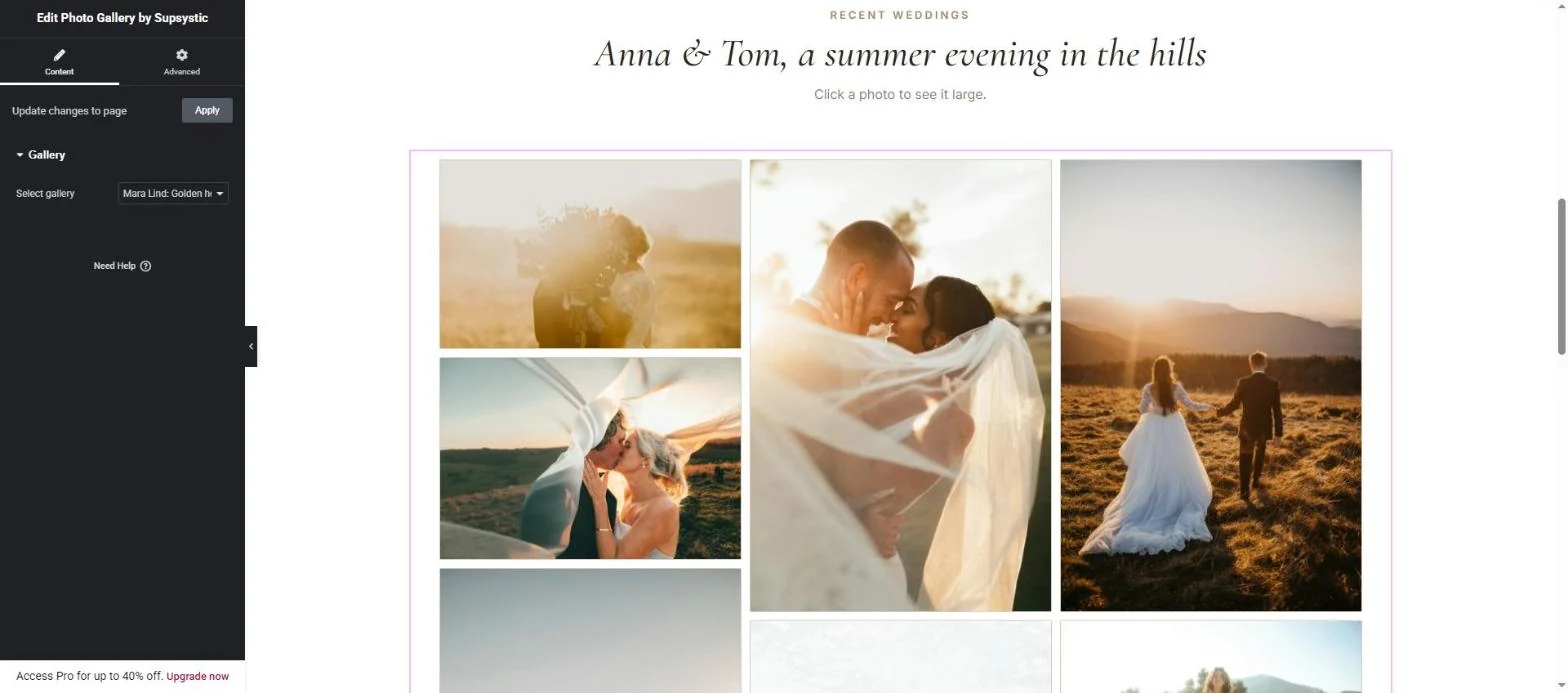
Change the gallery later in Photo Gallery, and every page that shows it updates. There is nothing to rebuild in Elementor.
Step 5. Check phones and tablets
Switch Elementor to the tablet or phone view at the top of the editor. The masonry columns adapt to the width: on a phone the photos stack in one column at full width, which suits portraits.
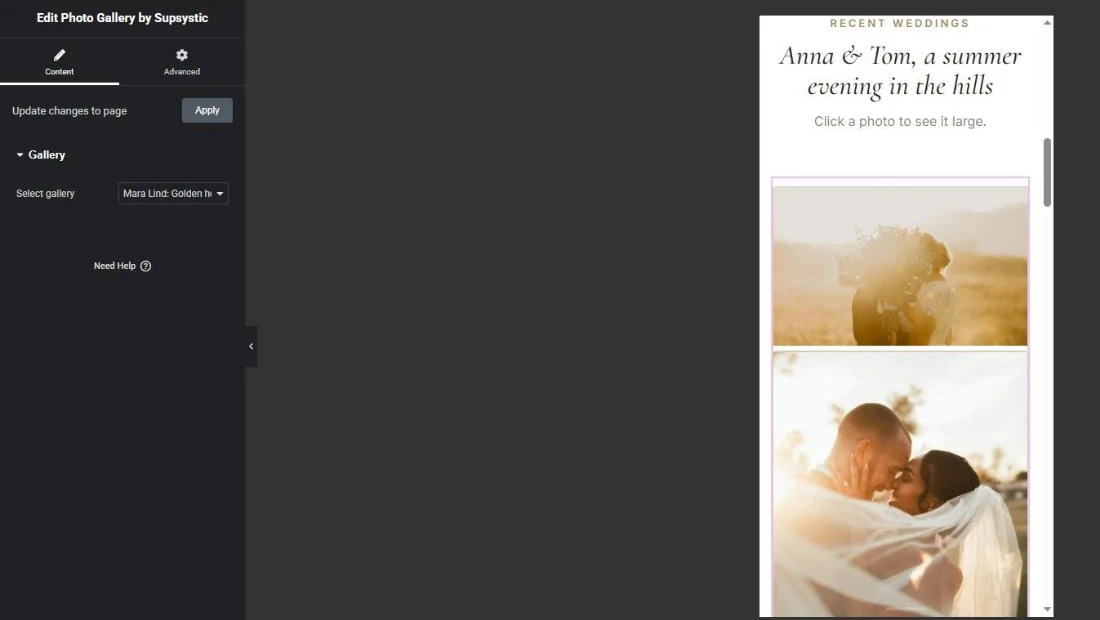
Click Publish.
The result
On the published page the gallery fills the section in three columns, each photo in its own proportions, with a thin ivory frame.

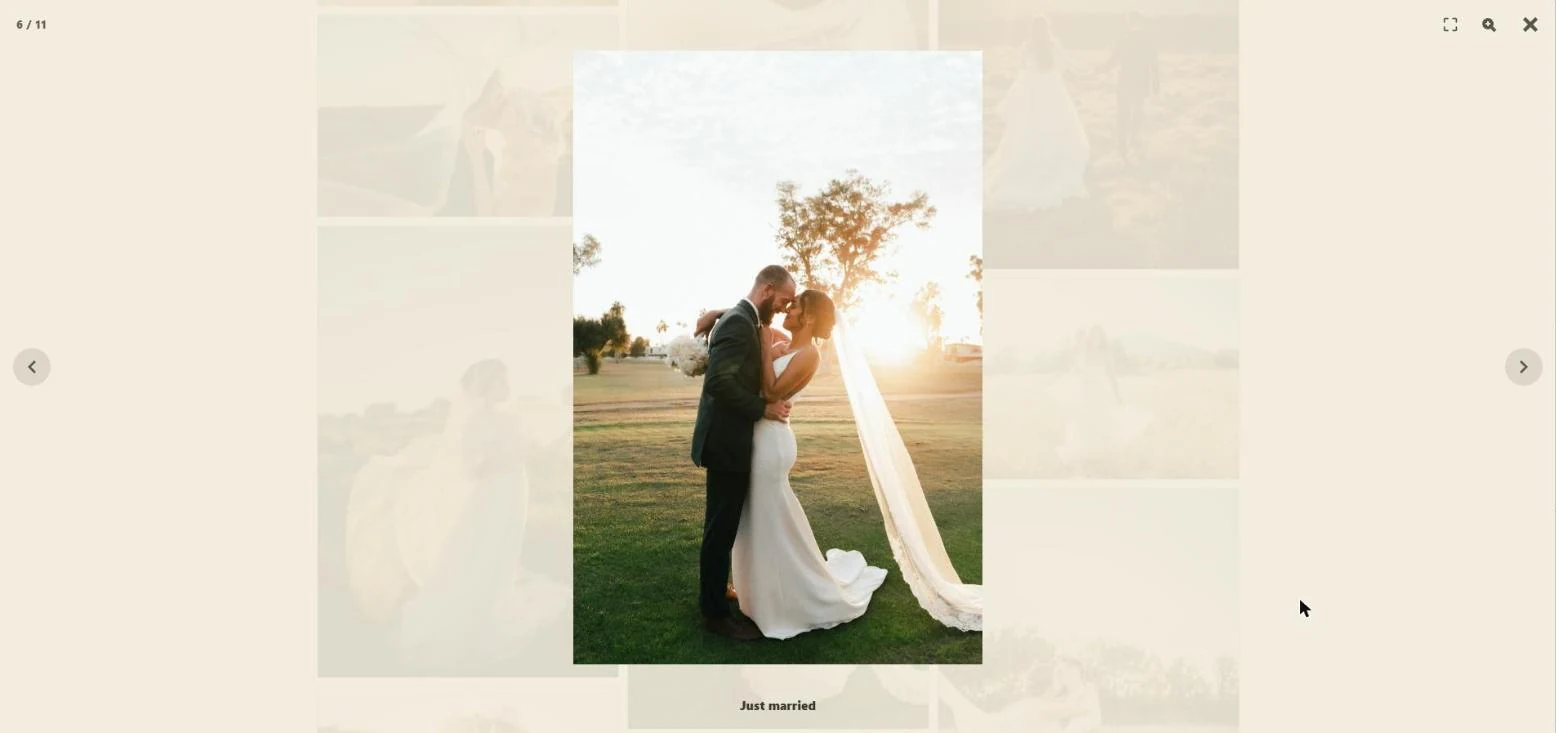
Moving the mouse over a photo slides in its caption (captions on hover are a Pro option). We gave every photo a short title in the Media Library: “Just married”, “Under the veil”, “The dip”.

A click opens the lightbox in the same colors, with the caption, a counter, arrows, zoom and full screen.
Free and Pro at a glance
Free: the Elementor widget and block, Fixed, Masonry, Justified rows, Horizontal and Fixed columns layouts, round thumbnails, five styles, the lightbox with zoom and full screen, alt text and titles for every image, and custom links on images.
Pro adds the Mosaic and Polaroid layouts, 100+ more styles, captions on hover, category filter buttons, pages and a Load more button, lightbox thumbnails and slideshow, a watermark, social sharing, and selling photos with paid access and downloads. See the plans.
Tips for a gallery that looks professional
- Open with your strongest photo. The first image sets the tone of the whole section.
- Mix portrait and landscape shots. Masonry shows both at full size, and the rhythm keeps the eye moving.
- Keep the style quiet. A thin frame and small gaps let the photos speak.
- Write short titles. Two or three words per photo are enough for captions and the lightbox.
- Fill in the alt text. It helps visitors with screen readers and helps your photos show up in image search.
FAQ
Do I need Elementor Pro for a masonry gallery?
No. Photo Gallery by Supsystic adds masonry, justified rows and other layouts to the free version of Elementor through its own widget.
Does the gallery show in the Elementor editor?
Yes. As soon as you pick a gallery in the widget, it appears on the canvas with its real layout and style.
Is the gallery responsive?
Yes. The columns adapt to the screen, and on a phone the photos stack at full width. Check it with Elementor’s tablet and phone views.
Can I use the same gallery on several pages?
Yes. Add the widget wherever you need it. Edit the gallery once in Photo Gallery and every page updates.
Can I use it without Elementor?
Yes. The same gallery can go into the block editor with the Photo Gallery by Supsystic block, or anywhere with its shortcode, such as [supsystic-gallery id=215].
Can I sell my photos from the gallery?
Yes, with Pro: paid access to private galleries and paid downloads.
Add your first Elementor gallery
Photo Gallery by Supsystic is free on WordPress.org and is used on 27,000+ WordPress sites. Install it, build a gallery with the wizard and drop it onto your Elementor page with the Photo Gallery widget.
Download Photo Gallery free | See Pro plans | Explore Photo Gallery
More: How to create an image carousel · How to add a table in Elementor · Gallery examples · Getting started guide · All free plugins