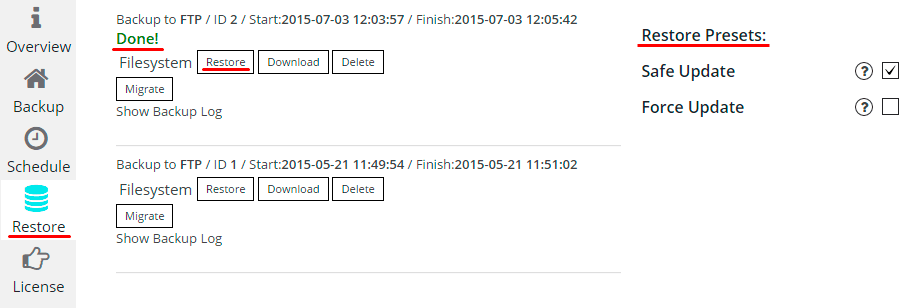
In order to restore backup of your site you need to go to the Restore tab, select the backup files you want and click Restore button. When you see the message “Done!” – restoration will be completed.

You also can use one or more Restore Presets:
- Safe update – at recovering:
- If the checkbox is set up, the database backup will be performed. This will let the database backup work in the transaction mode, i.e. should there occur any failure during the data base recovery, no data from the data-base backup will be transferred to the data-base. The data-base backup recovery will occur if and only there were no failures during the process.
- If the checkbox is not set up the data-base backup will be performed without transaction mode.
- Force backup – when backup is performed, the labels are usually put at the beginning of the file dump, such as: WordPress version for the backup, WordPress data-base version for the backup, the plugin version for the backup. At recovering:
- If the force has been off, the backup will not be performed, because it will constantly pop up with the message, that the version is incorrect (the version of WordPress, the version of WordPress data-base or the plugin version).
- If the force has been on, there will be no such system check and the recovery will be performed.
If the backup you want to restore is on your computer – upload it to the folder on the server where you store the other backups. By default backup is stored in upsupsystic folder (you can find it in the root website directory, where the WordPress is installed, using this path /wp-content/upsupsystic/). Then files of this backup will appear on the Restore tab and you will be able to restore them.