Need to provide your visitors the option to read your content in two or more languages? We are proud to inform you, that our team made a great update for Google Maps Easy Plugin and add ability to translate markers data via the Translate by Supsystic plugin.
Now the following options available for using:
- Create markers for each language and display them by switching.
- The language of the POI and administrative data must change as well.
- The default language is set according to the user’s connection location.
- The user can browse contents by language through language selection.
First of all you need to installing Translate by Supsystic.
In WordPress, navigate to Plugins -> Add New. Search for “Translate by Supsystic” and click Install Now.
When the installation has completed click “Activate Plugin”.
After installation, you find new plugin in the admin menu.
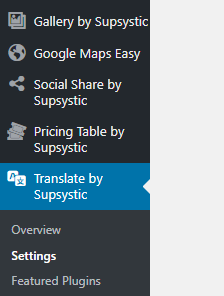
After activation click on Settings tab of Translate plugin.
Here you can choose default language and select Available Languages – from list for displaying them as a toolbar on your site (you may select a few languages);
After configuring the Translate settings, go to WordPress navigation menu -> Appearance -> Widgets.
On the list of available widgets you need to select Translate by Supsystic widget and click on the Add Widget button.
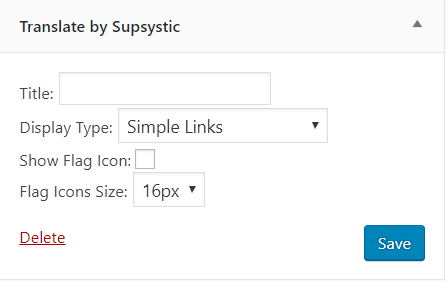
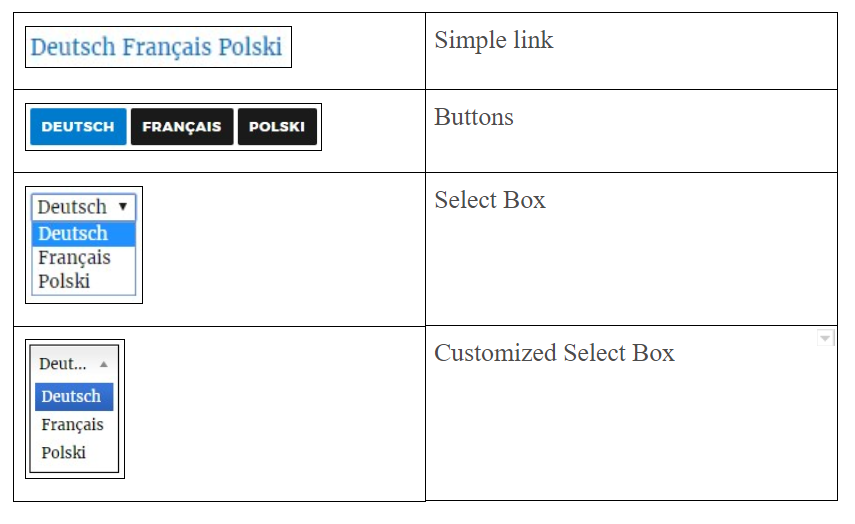
Here you can set the title and choose Display Type:
If you want to show flag icon, you need to press on the Show Flag Icon checkbox (a small icon of the national flag of the country which language will be used)
Also you will be able to change Flag Icons Size (16px, 24px, 32px or 48px)
Save the changes. Now your site will contain a Translate widget. Visitors will be able easily switch the language what they need by clicking on links/buttons in Translate widget.
So, how to make your Map name, markers and their description displaying in different languages on page?
Now, if you move to Google Map Easy Plugin and create a new Map or decide to edit already created Map, you can find selected languages on top in menu.
Here you need to translate your markers in every language you selected by clicking on that tabs.
F.e.:
After you finish translating don’t forget to click Save Button for Markers and Map. Copy the shortcode and add to your post. Now you can see how Markers and description can be changed by switching the languages.
Notice, that language of the POI and administrative data change as well.
Try this new option and make your website easy to use for people who speak different languages. If you will make your website multilingual, you can attract more visitors and customers.