The visual editor of the Pricing Table is available below the main settings table on the preview of your future table.
There are three main types of editors:
- Item editor
- Column editor
- Cell/Row editor
Start your editing from Column editor
-
- Step 1 place the cursor on the column. Don’t click. You will see a black menu with several options
-
- Step 2 the first option is Attributes. It allows you to set Id, Сlass and Style of the table with HTML and CSS code
-
- Step 3 the column Moving sign. Hold down the left mouse button and drag the column where you want
- Step 4 the third option is Fill Color – click the “Water Drop” and choose the color of the header. If you don’t want it – click outside the box
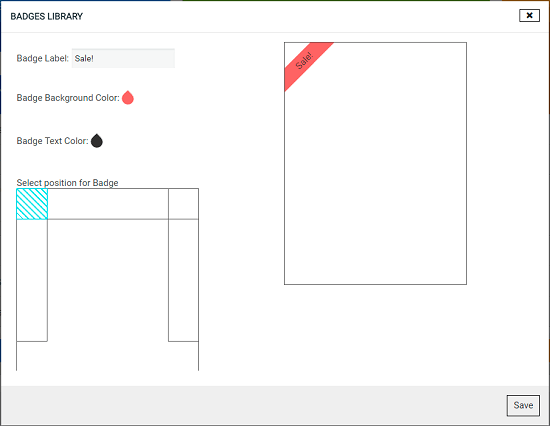
- Step 5 set the Badges for Column. Click the button and you will see a screen with changing model. Here you can type Badges Label, choose it’s Position on the pricing table, set Background and Text Color.

- Step 6 set the schedule of displaying your column by clicking the Schedule column button
- Step 7 delete your column, if you don’t need it, just click the Trash box button
The next stage is to edit cells and rows
-
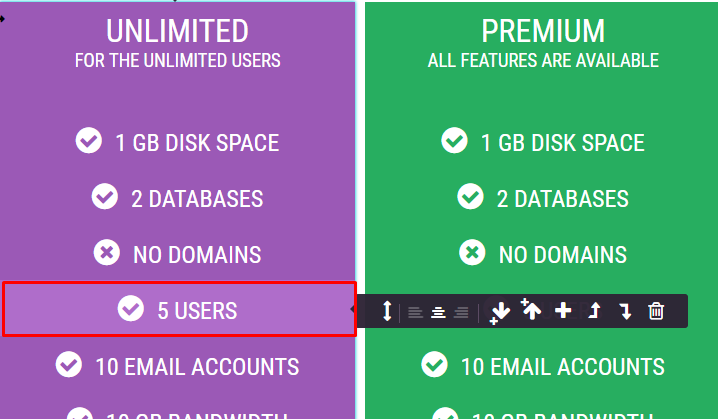
- Start the editing of cells from placing your cursor on the cell. Don’t click on it! The black editing menu will appear

- The first button is “Move Cell” – you can change the place of the cell in the list of your table up or down
- The second button is “Place of a Cell” – left, enter or right alignment
- The third and fourth buttons have similar functions – “Add row after” and “Add row before” the cell, which you choose. Pay attention, that these functions will copy the cell wth the same content (text, image etc)
- The fourth “Plus” has a function “Add One Cell” below your cell with no content
- The fifth and sixth cells combine your row with the previous or the next one
- The TrashBox button helps you to delete the row, you need
Another type of editor is “Item editor”
This time click on the content of your cell and you will see the editor. The view of it depends on the type of a content. Let’s start from the Text content
- The first button is Attributes. It allows you to set id, style and class of the table with HTML and CSS code.
- The next two buttons allows you to set up the Font Family and Font Size.
- “Source code” button that helps you to add your custom HTML code and customize your item as you want.
- The next three buttons help you to edit the style of your font (Bold, Italic or Strikethrough).
- With the help of “Insert/Edit Link”, you can add or edit your useful links in the items.
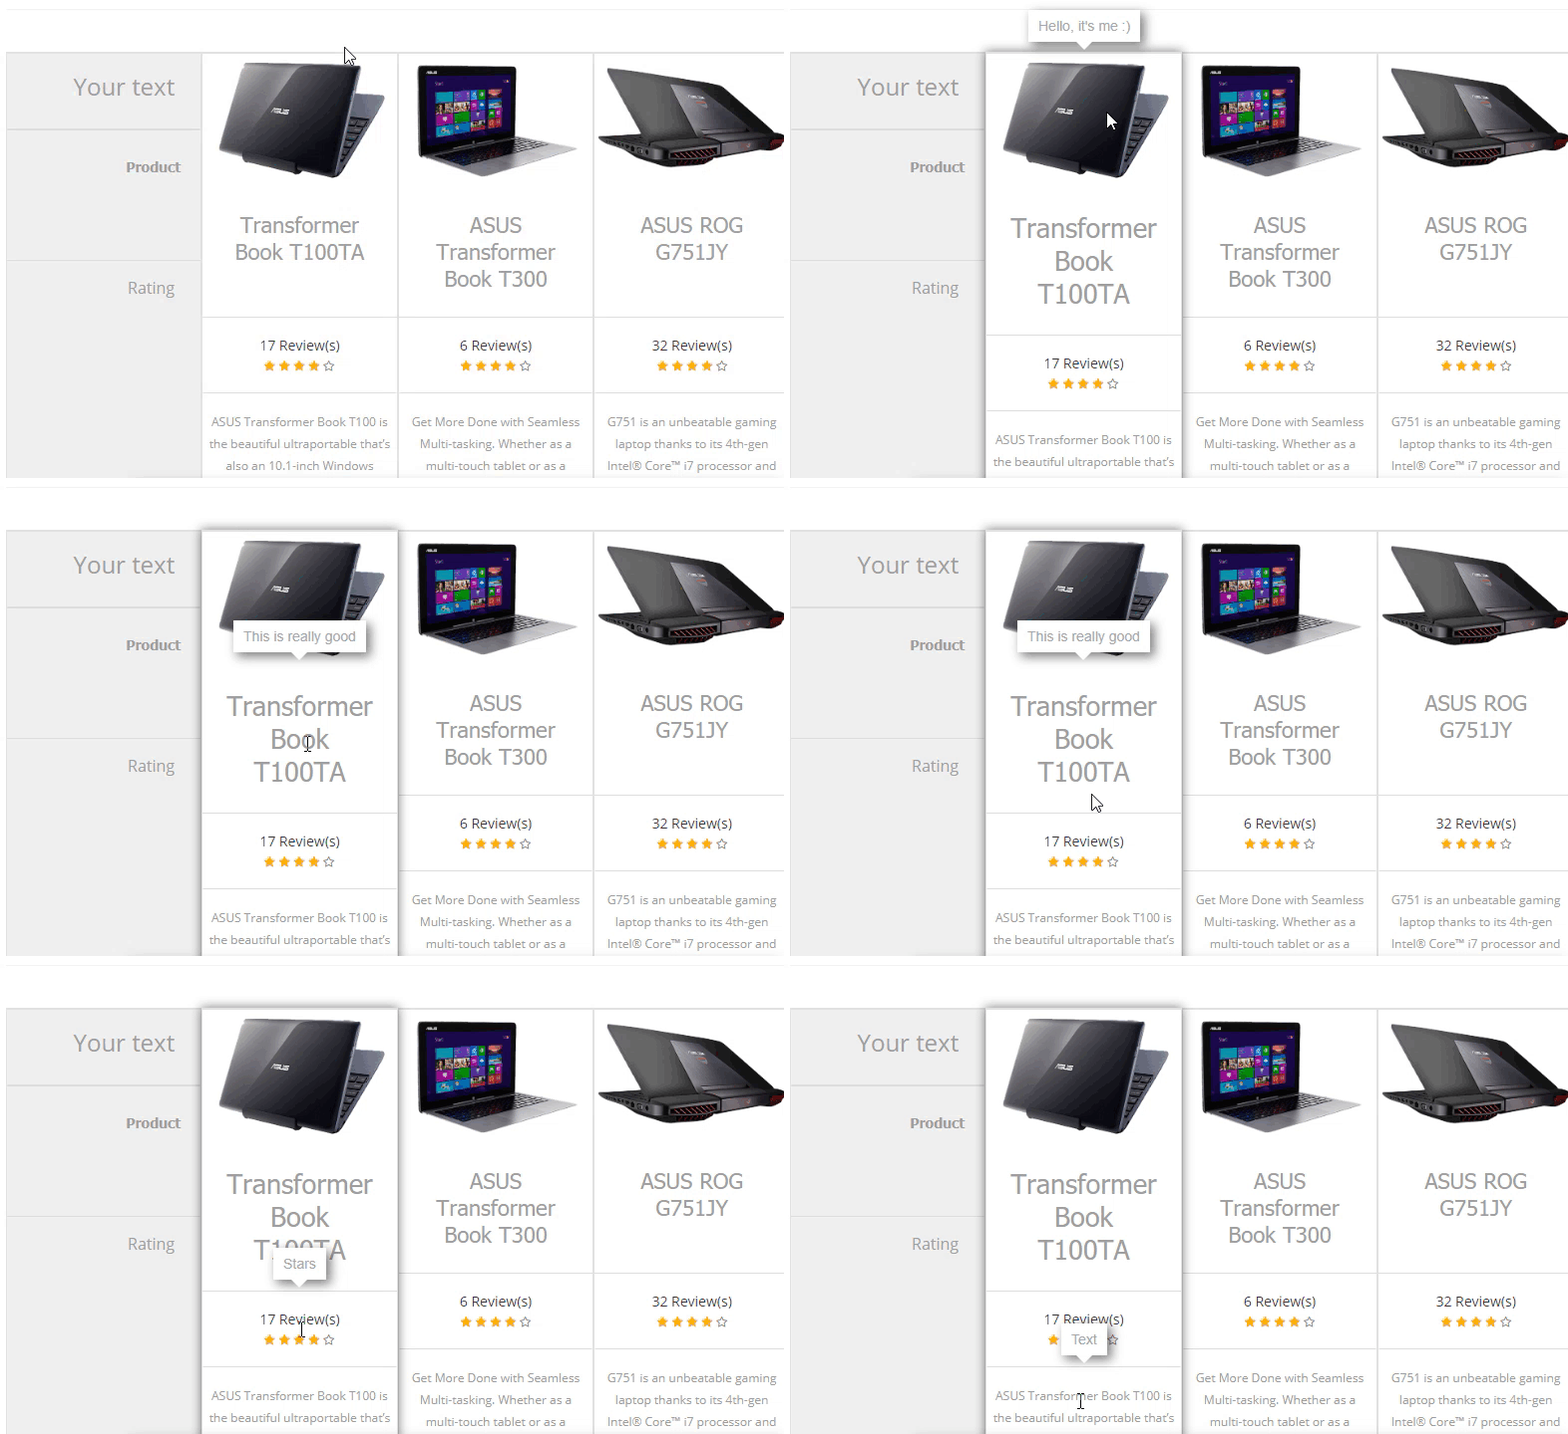
- “Edit Tooltip” feature allows you to add a description for each item, icon, text, image, and button when the cursor is on it.
- And the last one – “Water Drop” allows to change the color of the cell text.
Second type of content you can choose – Image/Video one
-
- The first button helps you to change the image. You can put it from the WordPress Media Library or upload from your laptop

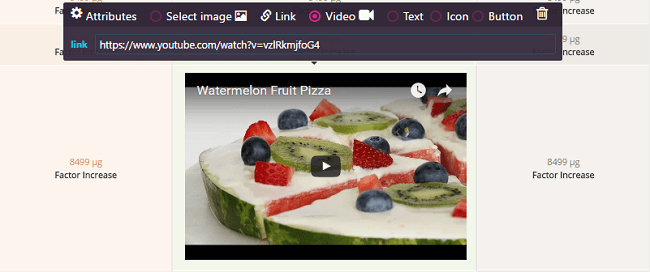
- “Link” helps you to put the content by a link from the Internet, put the attribute on it etc
- You can insert “Video” by the link (to Youtube or Vimeo)

An additional content, which can you add – Icon
![]()
- Change Icon – set another symbol/icon
- Icon Size – you can set it 1x-5x size
- Color – choose the color of the icon by clicking on “Water Drop”
- Link – choose the link for an icon, set the title of it
A button instead of the cell

- First of all, you can change the text instead of standard “Sign Up” by clicking and typing the new one
- Link – choose the link for a the button, set the title of it
- Color – choose the color of the button by clicking on “Water Drop”
The last function you have – a “TrashBox” – for deleting the content at all!
Also look through Settings Tab bellow. It allows you to:
- Send usage statistics – this will help us to generate better solutions for your in the future
- Enable promo link – easy for you, very helpful for us
- User with such role can use plugin – Choose administrator, editor, author, contributor or subscriber
- Disable autosave in Pricing Table


