Step 1: Installing Backup by Supsystic
In WordPress, navigate to Plugins > Add New. Search for “Backup by Supsystic” and click install. When the installation has completed click “Activate Plugin”. You will have a new admin menu item titled “Backup by Supsystic”.
Installing WordPress Backup by Supsystic PRO
In your personal account on the supsystic.com, you will find a unique download link after purchase. After downloading the file (supsystic_backup_pro.zip), navigate to Plugins > Add New > Upload and upload the file. When the installation has completed, click “Activate Plugin”.
After PRO version activation, you need to enter license key (you can find it in your personal account on our site). To do this follow next steps:
- Go to the Backup by Supsystic in WordPress navigation menu.
- Click License tab on left navigation menu of plugin.
- Enter your email and license key.
- Click “Check” button.
With Backup by Supsystic PRO you have such possibilities as
- Locate backups on remote FTP, SFTP(SCP) or FTPS Server
- Add Secret key for Database backup
- Create website Backup Schedules
- Do Database Migration
Step 2: Choosing the storage
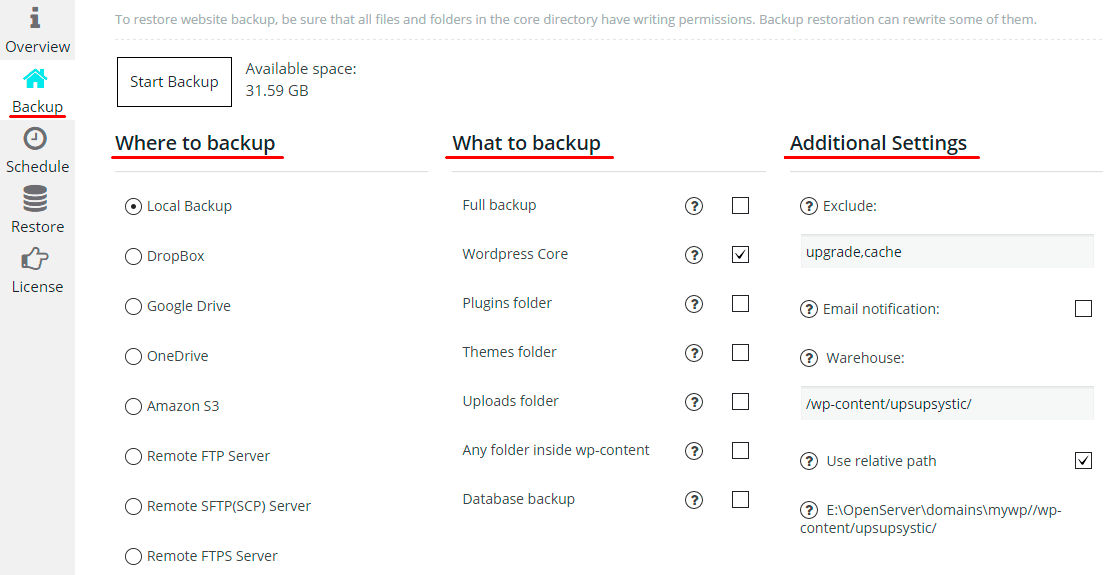
On the Backup tab you can set parameters of backup creating. Parameters are divided into the three partitions:
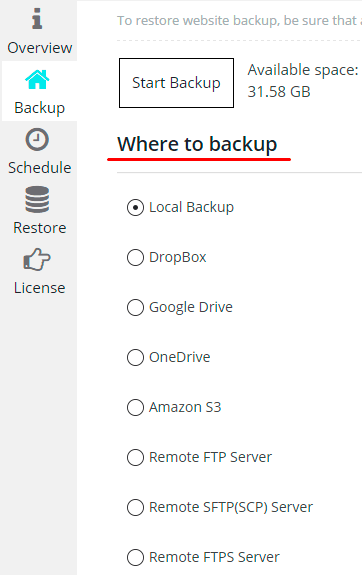
- Where to backup;
- What to backup;
- Additional Settings.
- Local Storage;
- Dropbox;
- Google Drive;
- OneDrive;
- Amazon S3;
- Remote FTP, SFTP(SCP) or FTPS Server.
Step 3: Configuring backup parameters
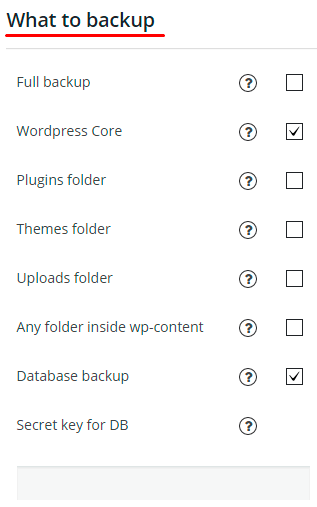
On the What to backup partition you can choose what exactly you want to backup and how you want to backup:
- Full Backup;
- WordPress Core (all folders and files in the root directory, where WordPress is installed, except the /wp-content folder);
- Plugins folder;
- Themes folder;
- Uploads folder;
- Any folder inside wp-content;
- Database Backup.
Also you can specify the Secret key for DB that will be required when restoring data from a database backup. This will help to protect your data from illegal use.
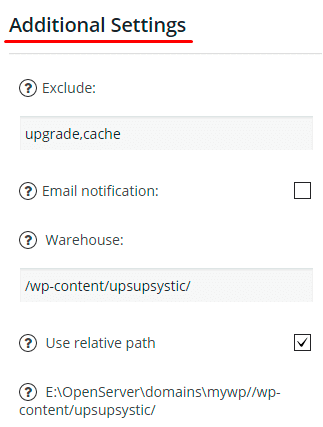
On the Additional Settings partition you have the ability to specify extra parameters for creating backup:
- Exclude files and folders from the backup.
- Enable email notification – activate checkbox and enter the email address where you want to be notified about how did the backup process passed.
- Specify the warehouse where the data is to be backed up:
- If Use relative path checkbox has been set up, the path will be set against in the root directory, where the WordPress is installed.
- If Use relative path checkbox has been off, the full path to the disk root should be specified in the Warehouse field.
- Use relative path:
- If the checkbox has been set up, then the backup path must be specified in the Warehouse field against the root directory, where the WordPress is installed.
- If the checkbox has been off, then the backup path must be specified in the Warehouse field against the disk root.
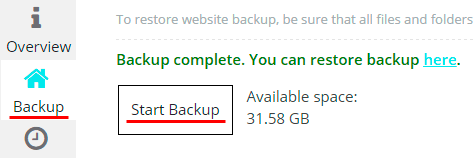
Step 4: Creating the backup
After you have selected the cloud storage and have specified all the settings, click Start Backup. Wait while your site is being backed up. It can take some time if your website is large. It depends on your site and hosting, how long the process will take. While WordPress plugin is backing up your website, you are not able to create another backup.

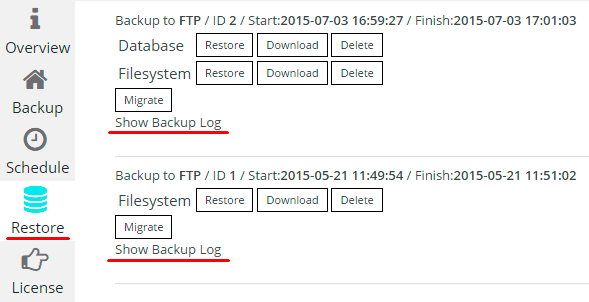
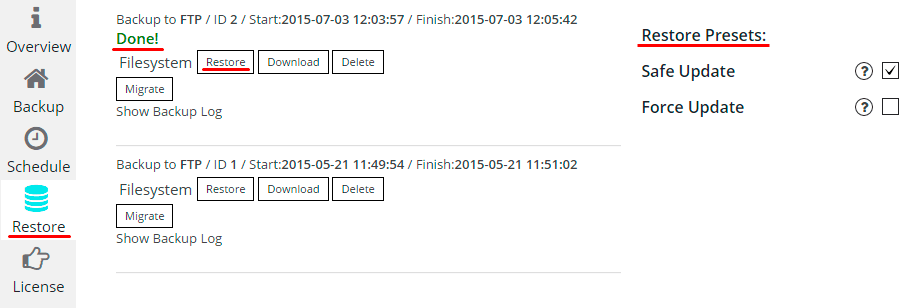
Step 5: Restoration from the backup
In order to restore backup of your site you need to go to the Restore tab, select the backup files you want and click Restore button. When you see the message “Done!” – restoration will be completed.