Authorization
To enable Campaign Monitor subscription service you have to follow this instruction.
- Click on Authorize in Campaign Monitor button

- After this current page will reload to Log-in page of the service where you need to insert your login and password

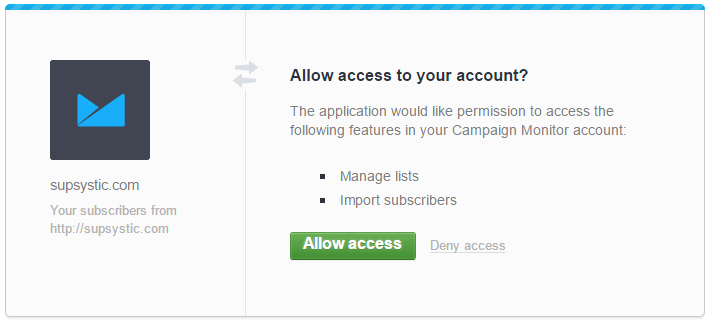
- And in next step click on Allow access button

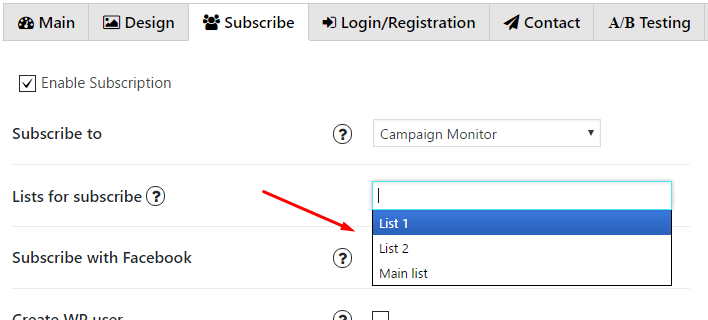
- In the List for subscribe choose a list or create a new one in the service by clicking on Lists & Subscribers in the topbar menu. Click on Create a new list button and type a name of the new list in next step

Custom fields
Also you can add Custom fields which will be shown in your pop up. To do it follow the next steps:
- Go to your Campaign Monitor account and open the subscriber list you want to add a custom field to. On the list details page, click Custom fields in the right sidebar. The “Manage custom fields” page will open.
- As example lets create a custom field called Company Name. In the field Add a new field type a name of your new field and press Add custom field button.
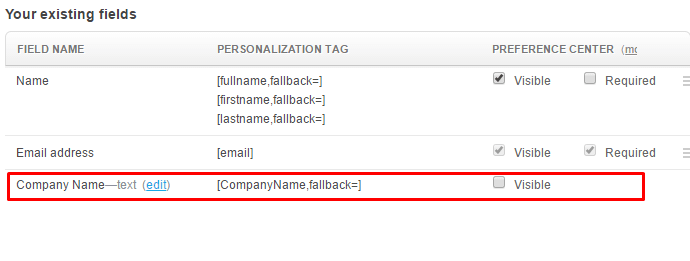
- New field will appear in the list Your existing fields

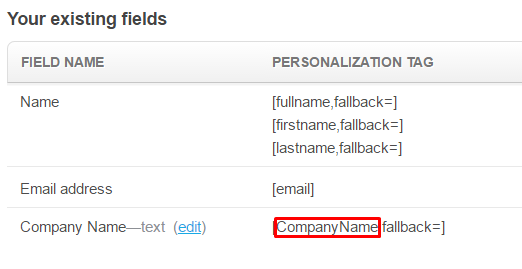
- Copy part CompanyName from its’ personalization tag [CompanyName,fallback=]

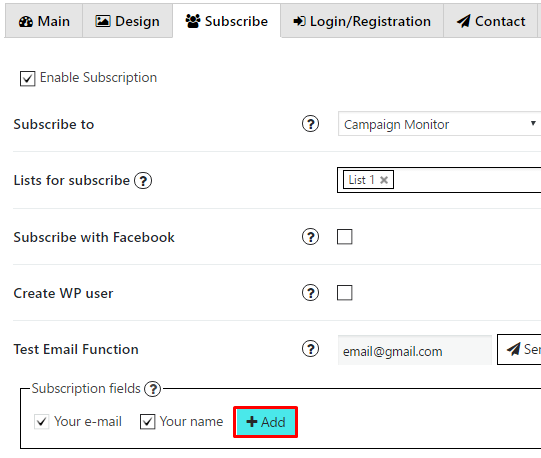
- Go to PopUp plugin setting window and open Subscribe tab of that pop up where you want to add Custom field. Click on Add button

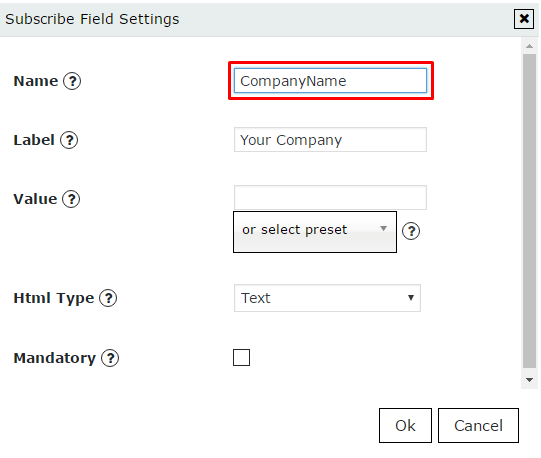
- In the Name field insert the name you’ve copied in step 4

- Add label for this field, click ‘OK’ and save changes.
Now in pop up your visitors will see your Custom field – Company Name.

