Authorization
To enable SendGrid subscription service you have to follow this instruction.
- Add your API Key

- To create API Key click Settings on the left side menu of your SendGrid account, choose API Keys and click Create API Key button. Type a name for the new key and select specific permissions, that you would like to assign to your new API key.

- Click Save button and in the page will appear new API Key which you have to copy. WPCom_Markdown class is not exists
- Insert your API key in the PopUp plugin settings window and choose a list for subscribe

Custom fileds
Also you can add Custom fields which will be shown in your pop up. To do it follow the next steps:
- Go to Marketing -> Custom Fields on the left side menu of dashboard.
- Click the Create New Field button at the top of the page.
- Add field name and select field type. Copy the name and click Save.

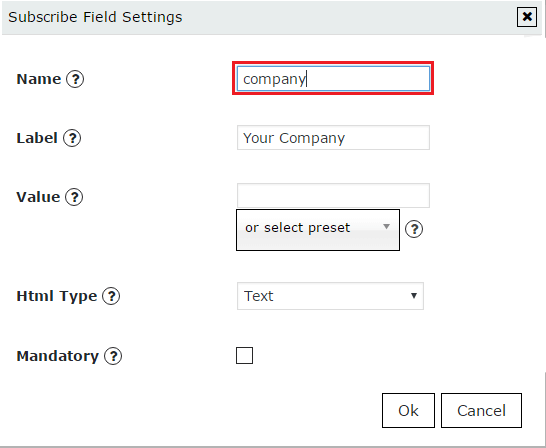
- Go to PopUp plugin setting window and open Subscribe tab of that pop up where you want to add Custom field. Click on Add button

- In the Name field insert attribute name you’ve copied in step 3

- Add label for this field, click ‘OK’ and save changes.