Authorization
In order to collect subscribers via SG Autorepondeur in WordPress Popup Plugin by Supsystic you need to –
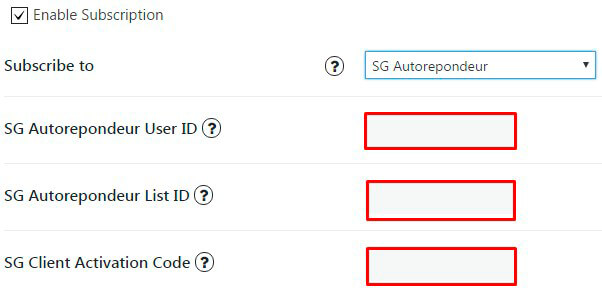
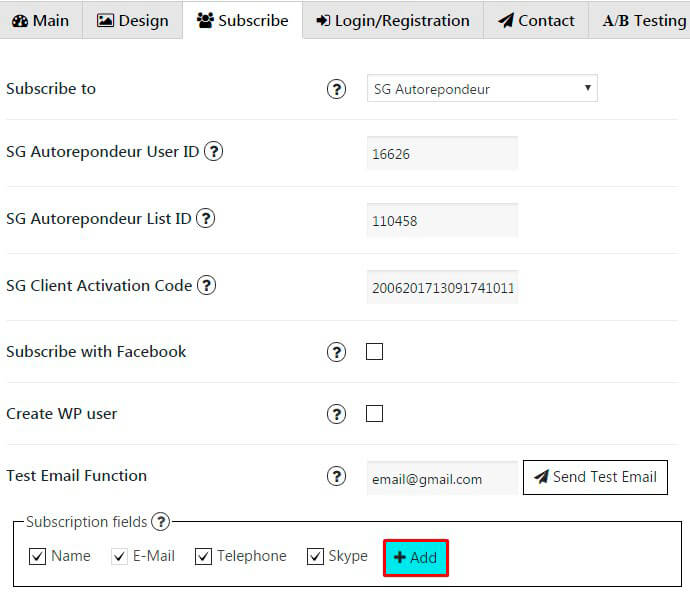
- Go to the Subscribe tab and in “Subscribe to” drop down list choose SG Autorepondeur.
- Enter SG Autorepondeur User ID, List ID and SG Client Activation Code.

The “User ID” in Popup plugin for WordPress is used to identify your SG Autorepondeur mailing list. This is an automatically generated ID that cannot be changed, nor it would ever need to be changed. Each mailing list that you have in your account will have its own “User ID” that is exclusive to that mailing list.
- To find your “User ID” go to your SG Autorepondeur main page and on the left top side you will see it:

- To find your “List ID” go to your SG Autorepondeur main page and click on Listes button. Here you will find all your created lists. Copy ID and paste it on Popup plugin subscribe settings.
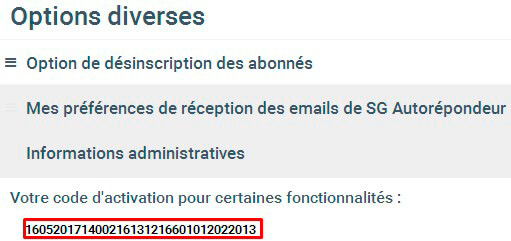
- To find SG Client Activation Code you need to open Option button:

From settings list choose Informations administratives tag and here you need to copy Activation Code:
Note! You need to customize your lists


Also you can add Custom fields which will be shown in your pop up. To do it follow the next steps:
- Go to PopUp plugin setting window and open Subscribe tab of that pop up where you want to add Custom field. Click on Add button:
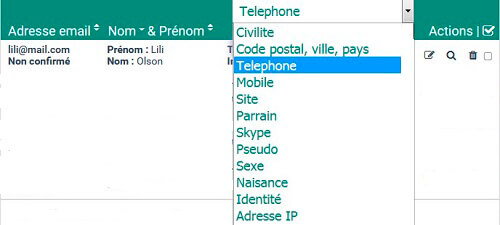
- In the Name field insert attribute name you’ve created from SG Autorepondeur contact list:
- Add label for this field, click ‘OK’ and save changes.

