Membership plugin by Supsystic allows you to create maps with markers/figures and post them to your membership site.
Through integration with Google Maps plugin you can add the ability to post maps to membership activities and your users will be able to post maps with your map presets as well.
Set your Google Maps Easy plugin settings
In order to create map with integration to your membership site following next steps:
- Install Google Maps Easy plugin and Activate it.
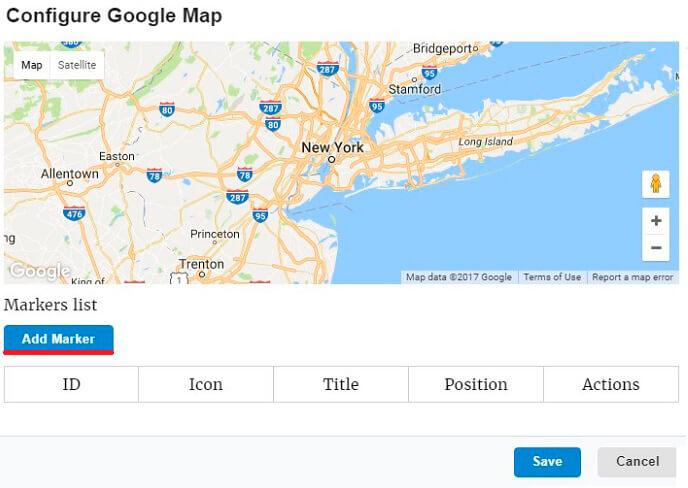
- Create new maps with different settings. You can add markers/figures that will be displayed in your presets (after map will be post, users will see them).
- Enable Map for Membership plugin – select checkbox above the map settings.
- Save your map.

In this way you can create a variety of maps with original themes, effects and properties.
Set your Membership plugin settings
To customize Membership plugin you need to go to the Main tab of Membership plugin -> Content section.
Here you can configure your Map presets:
- Activate Google Map option.
- Click on Settings button.
- Choose preset of map you want to display on Membership site.
- Save the changes.

Now on frontend of Membership plugin you and your users have ability to add maps by using activated map presets:
- Click on the map icon:
- Choose preset you want to use.
- Add Marker you want to display and configure its settings:
- Address
- Marker Name
- Marker Description
- Icon
- Latitude/Longitude
- Save Marker settings.
- Save Map.
- And the last step – Post the map.
![]()

You can post map on your own activity or on your friends activity, or on groups activity. And your users will create google maps according your templates settings.
