The Live Chat plugin has an ultimate amount of features for changing chat box design: you can literally change everything, from the size to background.
For the first changes follow next steps:
Step 1. Find the “Live Chat by Supsystic” directory on your admin panel and choose it.
Step 2. Create a new one chat-box by clicking the insert “Add New Chat”
Step 3. Click the name of it and find the insert tab “Design”

You have such settings for changing:
First of all, you can click the button “Choose Chat Template” and click the one you like – use a base template, if you don’t want to horse around this tool.
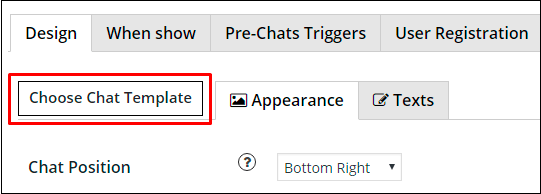
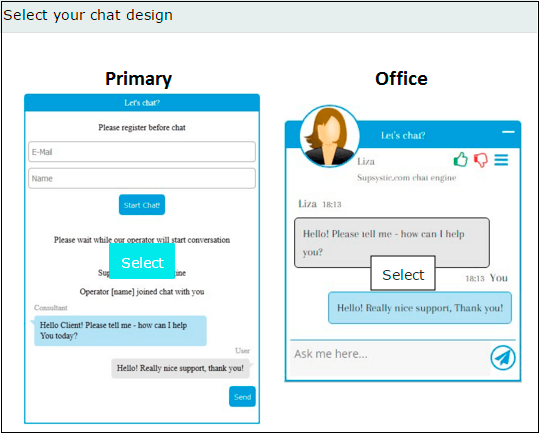
If you want to change some details, pay attention to two tabs “Appearance” and “Texts”
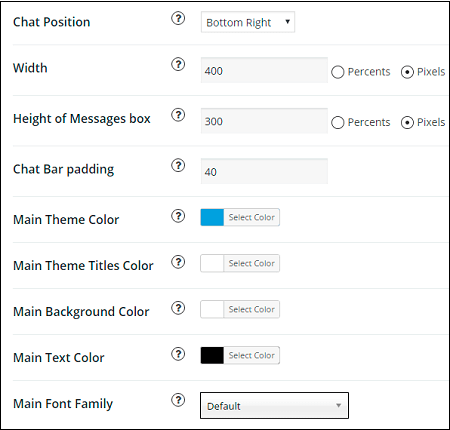
“Appearance” tab helps you with:
- Different position of your chat box on the screen (by the way, Live Chat Boxes are fully responsible, so that, they looks like in an appropriate manner on tablets, cell phones, laptops etc)
- Width and Height of the central Media box (you can choose or pixels, or percents)
- Tons of colors options: Main Theme, Main Theme Color, Main Background Color, Text Color etc.
There also selectors for Agent avatar, additional chat options etc.
The Pro version feature – Enable Rating of your Chat box! Here you can read about monitoring chat statistics.
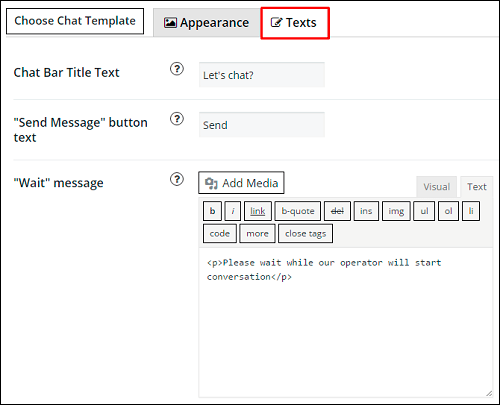
“Texts” insert has a key to such changeable possibilities:
- Chat Bar Title Text – type there a first phrase your customers would see
- A button “Send Message” also can have another name, e.g. “Send your request”, “Ask a question” etc.
- Type the “Wait Message” and even add there some pictures or videos – if you want your guests read/see it, while your agent is busy.
- Chat Header Text option
- Complete chat text – which would be there, when your user finish a dialogue.
- “Operator joined chat” message – you even can type there an automatic name of the Agent!
- and several other stuff buttons for your comfort!
Make sure that you have done everything like you want at the end of the page, where you can see the preview of your Live Chat Box!
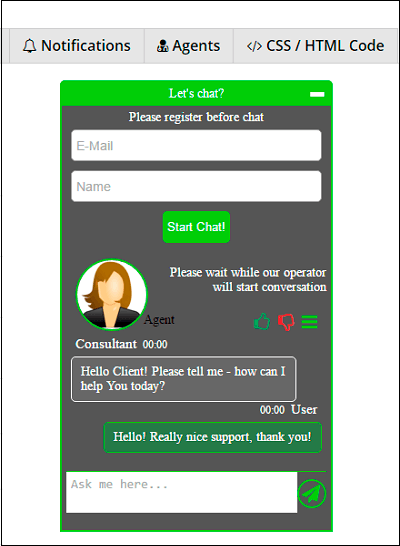
Important! Don’t forget to click “Save” button, before you refresh your page!