Profile Settings contains Main settings of membership user and settings of Registration Fields.
On Profile tab you will be able to customize the next options –
- Default User role – select a role that will be assigned to user after his registration. All membership roles you can create on Roles tab.
- Use Profile Avatar – if this option is enabled an avatar will be displayed near user’s name.
- Use Profile Gravatar – enable this option and users will be able to upload their Globally Recognized Avatar.
- Profile Avatar Size and Avatar Thumbnails Sizes – specify avatar size and small, medium and large sizes for avatar thumbnails.
- Default Avatar Image

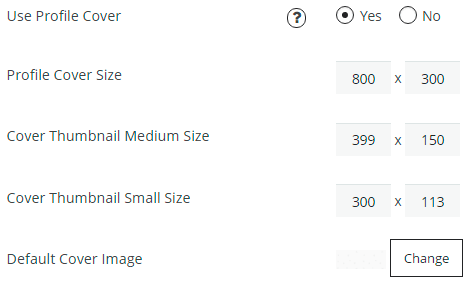
- Use Profile Cover – if this option is enabled users will be able to upload the second image behind the avatar image. It is kind of background image.
- Profile Cover Size and Cover Thumbnail Sizes – specify cover size and small, medium sizes for cover thumbnails.
- Default Cover Image

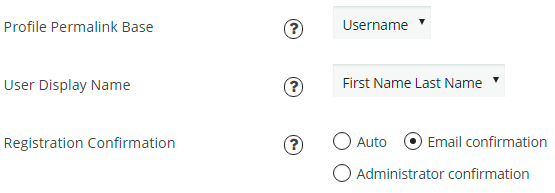
- Profile Permalink Base – select what data to use in the link of user’s profile – username or user ID. E.g. “http://supsystic/profile/john_snow/” or “http://supsystic/profile/1/”.
- User Display Name – select which kind of user’s name will be displayed.
- Registration Confirmation – select the type of confirmation that should be performed after user registration.
- Auto – after registration will be automatically created and activated the membership account for user.
- Email confirmation – after registration user will receive the confirmation message on his/her email address. To activate the account, he/she will need to click the link inside the confirmation letter to confirm the email address.
Administrator confirmation – in this case after the new user registration – administrator will receive Pending Review Email. In this letter administrator can check the information about new user and make the decision – approve or reject the account. To make decision – go to Users page in WordPress menu -> find the user profile -> click Edit -> choose the Status for account – Active or Rejected. Besides here you can select another statuses – Deleted, Disabled, Pending Review. After the administrator will choose the status – user will receive the email about the admin decision.
Letters of Email confirmation and Administrator confirmation you can edit on Mails Tab.

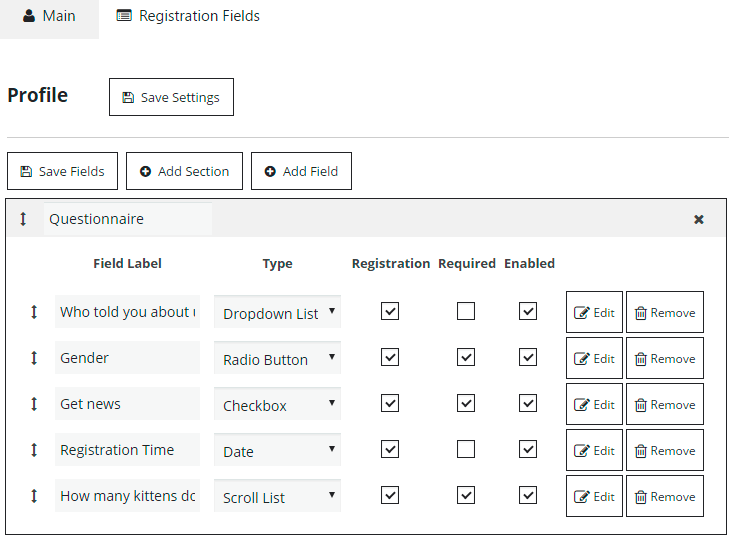
With Registration Fields tab you can create and customize profile sections and fields. These information will be displayed in About tab of user profile. Besides here you can specify what fields will be used for registration and which of them will be required. For more details check this article.

