Step 1: Installing Social Media Share Buttons by Supsystic
In WordPress, navigate to Plugins > Add New. Search for “Social Share Buttons” and click install. When the installation has completed click “Activate Plugin”. You will have a new admin menu item titled “Social Share by Supsystic”.
Installing Social Share Buttons by Supsystic PRO
In your personal account on the supsystic.com, you will find a unique download link after purchase. After downloading the file (social-share-pro.zip), navigate to Plugins > Add New > Upload and upload the file. When the installation has completed, click “Activate Plugin”.
After activation the PRO version, you need to enter license key (you can find it in your personal account on our site). To do this follow next steps:
- Go to the Social Share by Supsystic in WordPress navigation menu.
- Click License tab on left navigation menu of plugin.
- Enter your email and license key.
- Click Activate button.
With Social Share by Supsystic PRO you have such possibilities as –
- Add Content lock of site for users who have not shared
- Add Gradient mode for buttons
Step 2: Creating Responsive Social Share Buttons
- On the left navigation menu click Add new project.
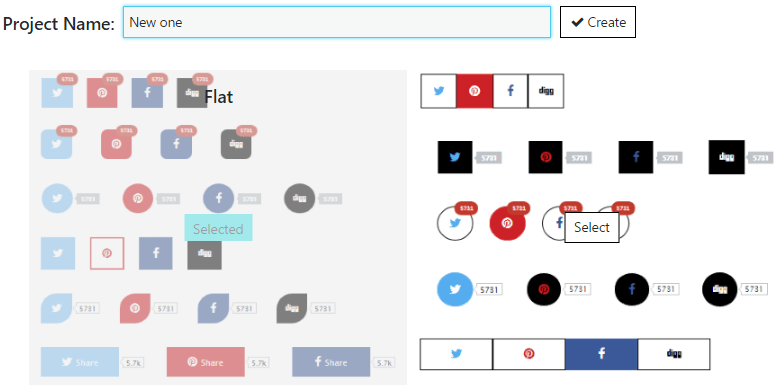
- Enter the title of project, choose template and click Create.

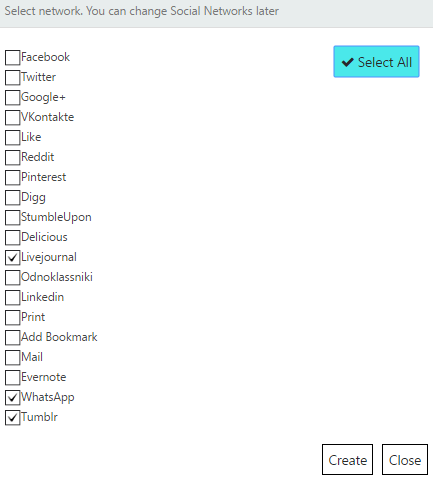
- Tick social networks you would like to be shared to or Select all and click Create.

Step 3: Customizing of Social Share by Supsystic
New page opened and here you can set all the options of Social media sharing plugin. Simply navigate the corresponding tab of properties – Main, Design and Statistics.
On the Main Tab of Social Share by Supsystic you can find different options how to display social share buttons. Here you can set –
-
-
- Networks to show
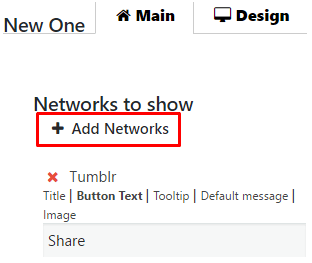
- Click Add Networks button.

- Choose networks, with which you want to create easy social share buttons, delete or Select all of them. You can select any numbers of social networks.
- Save changes or Close this window without them.
- After this you will be able to add Title, Button Text, Tooltip, Image, Default Message of the button or make a quick deletion by red “X” button.

- Click Add Networks button.
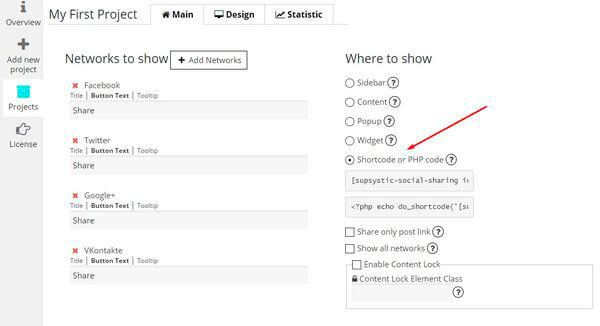
- Where to show – choose where to show social share toolbar
-
- At the Sidebar of the page
- At the Posts or Pages Content
- At the Popup window
- At Photo Gallery by Supsystic
- At the theme’s Widgets areas
- Use Shortcode or PHP code
-
- Networks to show
-
Besides here you have such abilities –
-
-
-
-
- Share only post link
- Show all networks
- Content lock (PRO feature)
-
-
-
- Show on next pages
-
- Show everywhere
- Show on Homepage only
- Hide on home page
- Show on next posts / pages / post types
- Don’t show on next pages / posts
- Hide share buttons on mobile devices
- Show Only on Mobile Devices
-
- When to show
-
- When page loads
- When user clicks on a page
-
- Show on next pages
-
Check this page to view more information about all Displaying Options of Social Share plugin.
On the Design Tab you can tune the appearance of your Social Share Buttons accordingly to your site beauty. This allows you to adjust —
-
-
- Buttons Design
- Button spacing
- Buttons size
- Display counters
- Counter style
- Show counter after the number of shares
- Show numbers from
- Use short numbers
- Enable Gradient mode(PRO feature)
- Overlay with shadow
- Buttons animation
- Icons animation
-
Besides on the Design tab you can see the Preview of all this options and effects.
To view more detailed information about all Design tab abilities click on this link.
WPCom_Markdown class is not exists
Insert the project shortcode and show buttons where you want:

Statistics Settings Tab allows you to gather statistics of your content being shared by different social networks. This is a key to make your site more popular – gather, analyze and make conclusions about popularity of your site content.
![]()
Read this article to check all information about Social Share Statistic tab.
Check all Social Share Documentation.


